Registrations
We now manually approve all new user accounts due to a large influx of spam bots. Accounts are normally approved within 48 hours.
If you need any help with using this Wiki, please ask here: TalkFord.com Wiki Submission Forum
Auto Dipping Rear View Mirror - Fitting of a BMW / Scorpio unit (Mondeo Mk1/2)
For more information, visit the Ford Mondeo forum on TalkFord.com, the definitive resource site covering all Fords from the present day to the 1970's.
|
Overview Guide | |
| Ford Model: | Mondeo |
|---|---|
| Petrol/Diesel: | ??? |
| Estimated Cost: | ??? |
| Difficulty? | ??? |
| How long does this take? | ??? |
Contents
Fitting BMW or Scorpio Auto Dipping Rear View Mirror
Background
This ‘howto’ is for fitting an automatic dipping rear view mirror to a MK1 or Mk2 mondeo.
You will need:
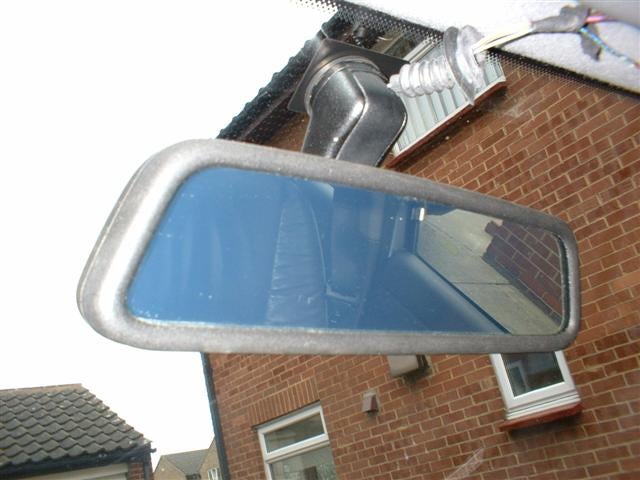
- An auto dipping rear view mirror from a breakers or internet auction site, Ford Scorpio ones are an obvious upgrade but the two I’ve had have both been faulty and the little green ‘on’ light gets on my nerves! Far better are BMW ones, they are more stylish, react very quickly, have a good windscreen mount and come with a nice rubber boot over the wiring, these are readily available on the internet the most common being the one from an E36 3 series, beware when buying (especially Ford mirrors) make sure the glass is crystal clear, if it’s at all dark with no power on it then it’s broke! I believe MK3? mondeo mirrors can also be fitted but haven’t personally done this.
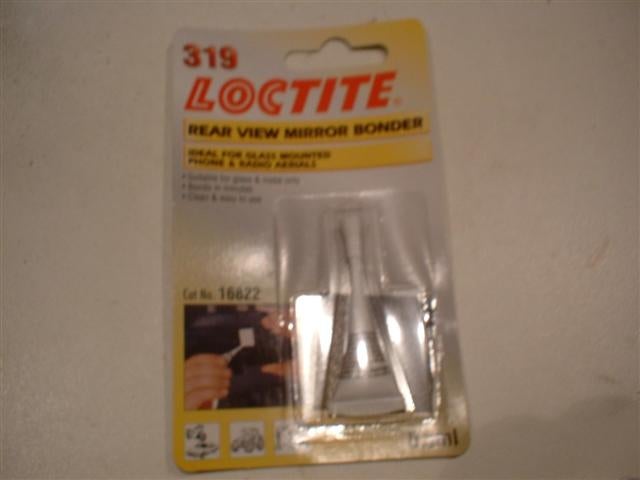
- An interior mirror adhesive, Halfords sell a good one by Loctite.
- 2 metres of wire or 4 metres if you do not have an electric sunroof.
- Soldering iron, solder and insulating tape or 3 blue butt crimps and a crimping tool if you prefer to crimp your joints.
Get Started
First remove your old mirror, if you are lucky it will just pull off, otherwise warm the adhesive pad with a hairdryer and ease it off with a Stanley knife blade, clean any adhesive residue off with a Stanley knife blade and some white spirit.
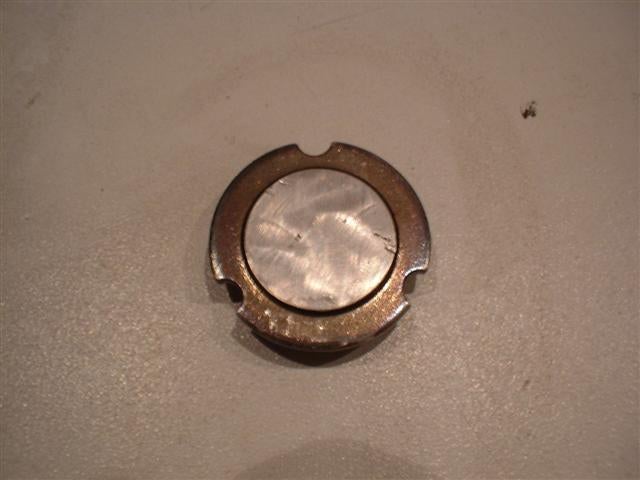
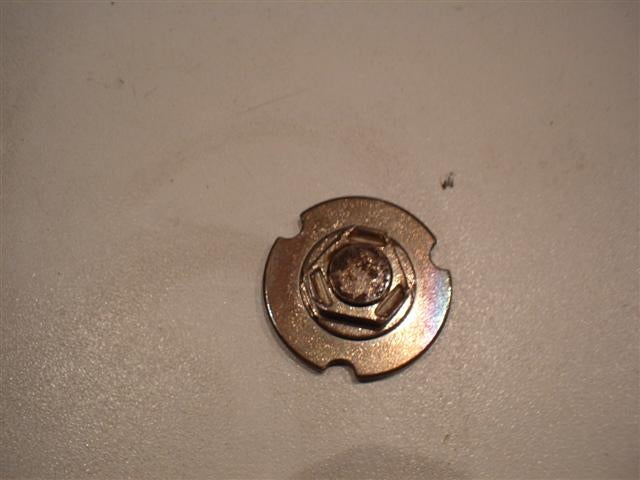
The BMW mirror comes with a mounting disc that is glued to the window which the mirror attaches to.
If the mount is like the one I got and has windscreen glass still attached to the back of it chip it off with a small chisel and clean it up with sandpaper.
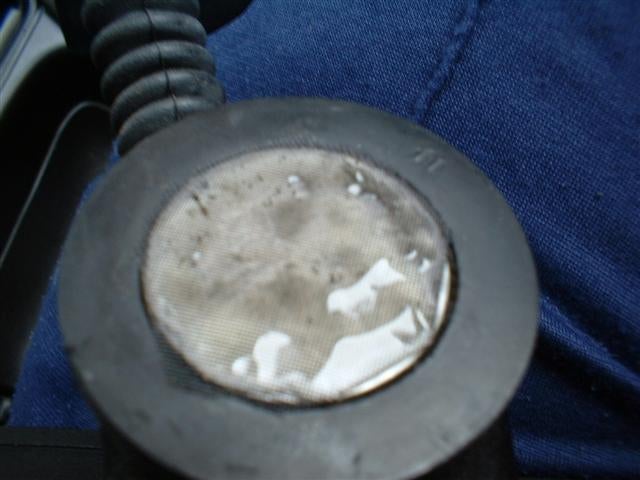
Use the mirror adhesive as per the instructions, basically you cut the mesh to the shape of the mirror mount and put adhesive on the mount, put the mesh on top and add more adhesive till the mesh is covered then hold the mirror on the screen (on the black square) for 1 minute and the mirror should be stuck ok.
For the wiring you need an ignition on live feed, an earth and a reverse lights on live feed. Most people don’t bother with the reverse feed as it’s not really necessary, it switches the mirror off and makes the glass go clear if it was dimmed as a safety/ rear visibility feature. I did wire the reverse light feed in however as it’s easy enough to do.
The wire colours on the mirror are:
Ford Scorpio mirror: White – Ignition live. Grey – Reverse light live. Black – Earth.
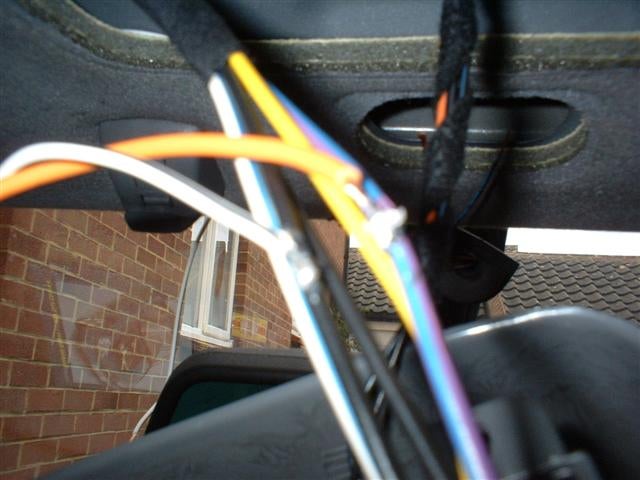
BMW mirror: Violet/ White – Ignition live. Blue/ Yellow – Reverse light live. Brown/ Orange – Earth.
The mirrors can be tested by putting a 12v live and negative (from a battery charger for example) to the correct wires the block the light sensor at the front of the mirror (where the small hole is) so the mirror thinks it is dark then direct sunlight or torch light at the mirror side sensor, the mirror should start to go dark.
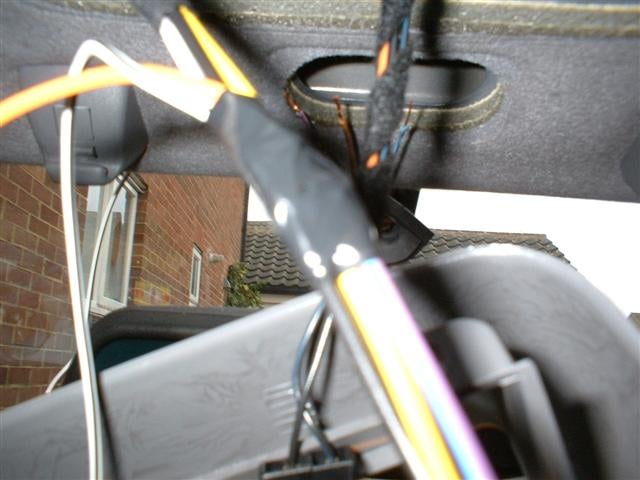
If you have an electric sunroof then simply take the ignition live and earth from the wiring to the sunroof. The violet/ blue wire to the sunroof switch is the ignition live feed and the black wire to the switch is an earth, crimp or solder the wires and insulate them as required.
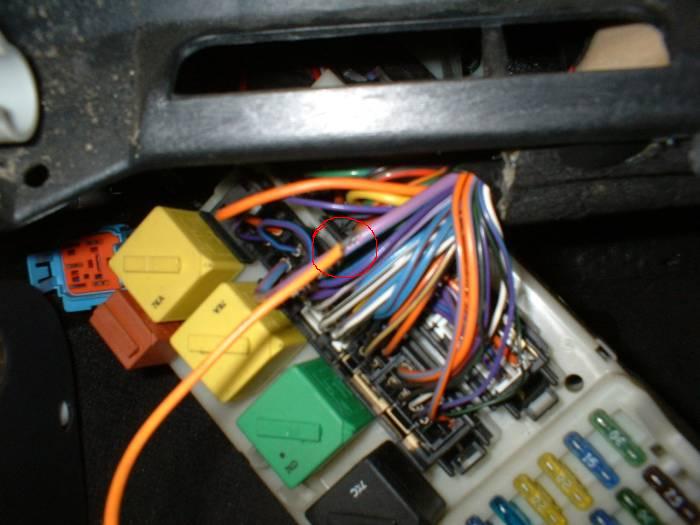
If your car does not have an electric sunroof then you will need to run the wires down the windscreen pillar trim into the passenger side footwell. For the live drop the fuse box down which is right behind the glovebox (pull the glovebox out for better access) and take the ignition live from here. You can take the supply from the thick violet electric window power supply wire as below.
For the earth (if no electric sunroof) remove the plastic footwell kick trim by unscrewing the plastic screw and you will see an earth point, remove the bolt with a 10mm spanner, crimp your earth tag to one piece of your wire and refit the bolt with your earth tag on it.
For the reverse light signal you will need to run the wire down the windscreen pillar trim down to the passenger side footwell
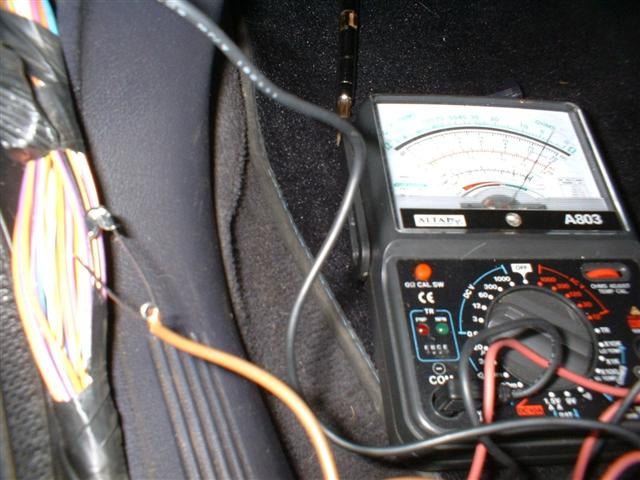
The wire for the reverse lights can be found under the front passenger door sill trim, remove the trim and there is quite a thick loom of wires, the one you want is a purple and black one, careful because there are 2 purple and black wires in the loom and the other one goes to the drivers side brake light, a quick check with a meter is needed. Select reverse gear with the ignition on and the correct wire will be live, take the car out of reverse and check the meter now reads zero to prove it’s the reverse light wire. This is where you need to connect up your reverse signal to the mirror by crimping or soldering.
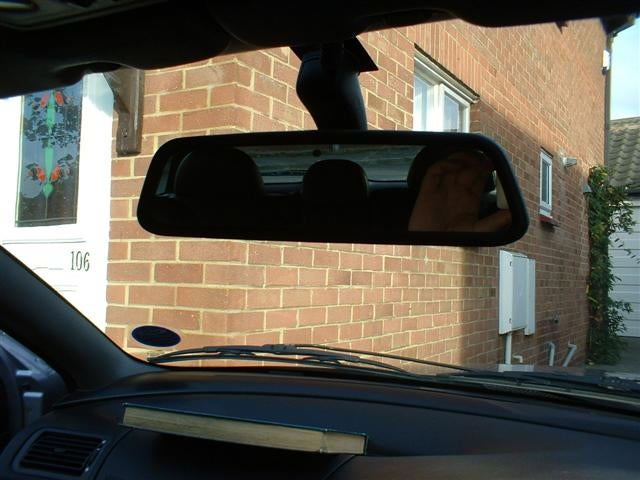
Once the wiring is complete replace all the trim pieces that have been removed and tuck the wires to the mirror under the headlining, the BMW mirror has a handy rubber boot on the wires to hide them as they go under the headlining.
That’s it! An excellent mod especially in the dark winter months.
 Your Privacy Choices