Registrations
We now manually approve all new user accounts due to a large influx of spam bots. Accounts are normally approved within 48 hours.
If you need any help with using this Wiki, please ask here: TalkFord.com Wiki Submission Forum
Difference between revisions of "Replacement Dials - How to fit"
m (moved Fitting Replacement Dials - Mk3 to Replacement Dials - How to fit to Mondeo Mk3: Renamed) |
(Redundant categorys removed) |
||
| Line 109: | Line 109: | ||
Alternative Needle Setting Method & Guide images by Compuwiz_uk | Alternative Needle Setting Method & Guide images by Compuwiz_uk | ||
| − | + | ||
[[Category:Mondeo_Mk3]] | [[Category:Mondeo_Mk3]] | ||
Revision as of 04:28, 15 January 2011
For more information, visit the Ford Mondeo forum on TalkFord.com, the definitive resource site covering all Fords from the present day to the 1970's.
|
Courtesy of TalkFord.com | |
| Author: | Various |
|---|---|
| Ford Model: | Mondeo Mk3 |
| Estimated Cost: | £35 ish |
| Difficulty? | Easy |
| How long does this take? | 30 minutes |
Contents
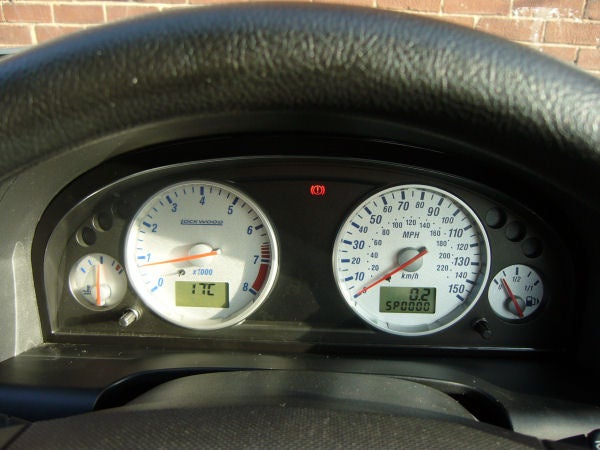
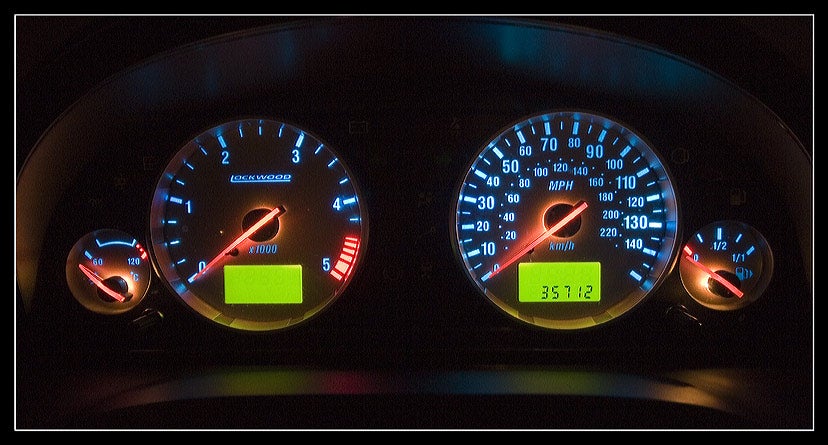
Fitting replacement dials Mk3 (Blue Lockwood)
Method
Make a note of how much fuel you have in the car, and take a reading from your temp gauge at normal running temp. You will need to revert back to these when finishing off so keep them safe!
Disconnect the battery and leave for at least 5 minutes. This is a tip from the Haynes manual (Amazon: preface/facelift) and is to prevent the risk of setting the airbags off by mistake. *NOTE* before doing this you should be aware that you will need to recode your radio when you reconnect it.
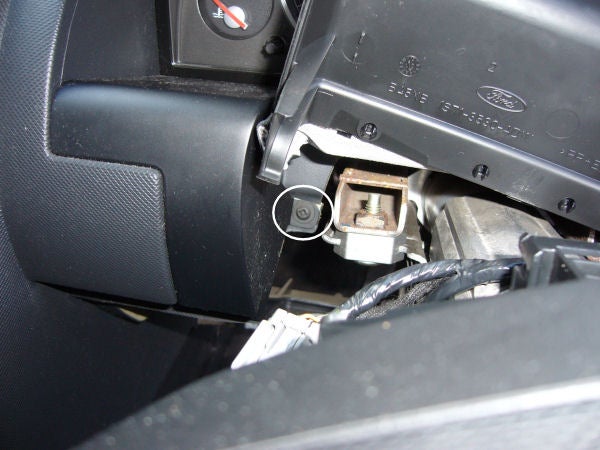
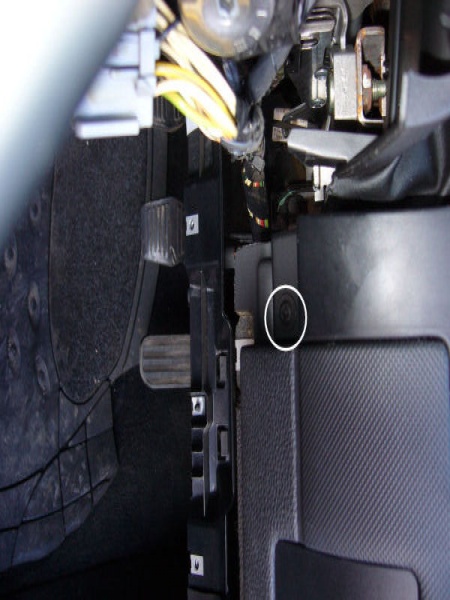
Open the small driver's side glovebox/coin holder. You will see two small screws. Remove these along with the other 3 or 4 screws along the bottom of the panel. The top left hand side of this panel is held in with a metal clip and needs some (gentle) persuasion to come out.
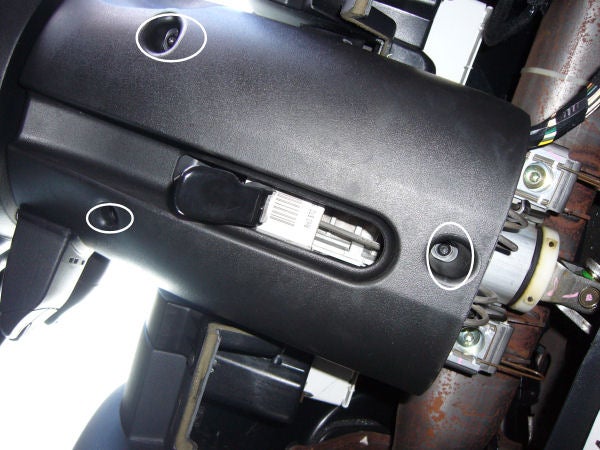
Remove the steering mounted radio control stalk (if fitted) by pressing on a locking tab behind it with a small flat screwdriver. Disconnect the wiring and remove. Then undo the three torx screws underneath the bottom steering column cover. The top and bottom are held together at the front by small clips, and need to be pressed in gently with a small flat screwdriver (just in front of the control stalks).The top cover is connected to the upper shroud cover by flexible material, and I recommend you leave it connected as it may be a proper swine to reconnect if you separate it. The upper cover is held in place with 4 screws, two of which are clear to see and two of which are further back underneath. When the screws have been removed the top cover is now held in with a clip on either side which needs to be prised out. Once you have it out of the way, undo the locking tab underneath the steering column and pull the steering wheel out and down as far as it will go. This gives a bit of extra working space.
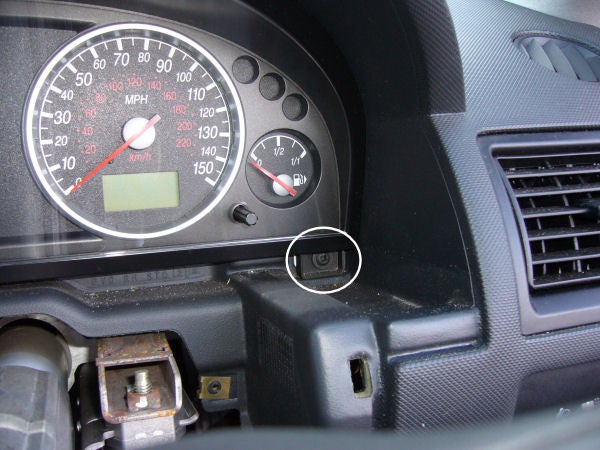
The dials themselves are held in place by just two screws. Once removed you will need to reach underneath and round the back of the dials to give them a push forwards to release them. Once out lift the locking tab on the plug at the back and remove. Do not tip the dials upside down or lie them completely flat. According to the Haynes manual this will cause silicone to leak from inside the dials and bugger them up!
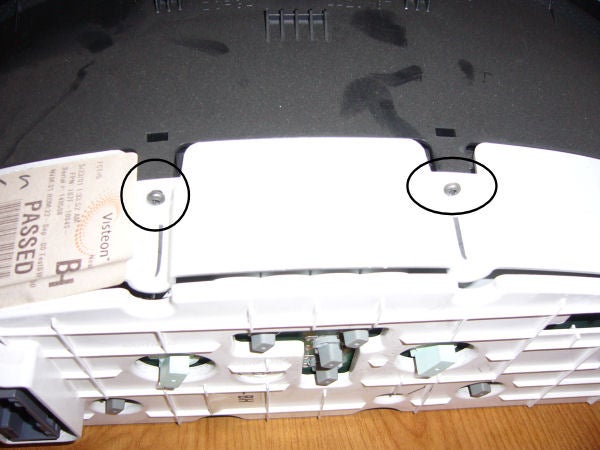
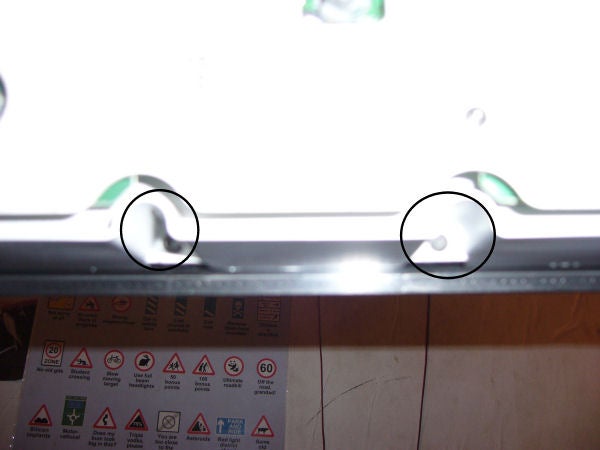
To separate the perspex face from the clocks there are 4 small screws behind which need to come out.To remove the needles use two teaspoons together under the base of eah needle. Use a levering action to gently prise the needles off. It may help to heat the needles up first with a hairdryer. Dont remove the needle rest pegs yet as you may damage the clips behind. To remove the old dial face use a sharp stanley blade to slide underneath one edge of the face to create a tab to get a hold of.
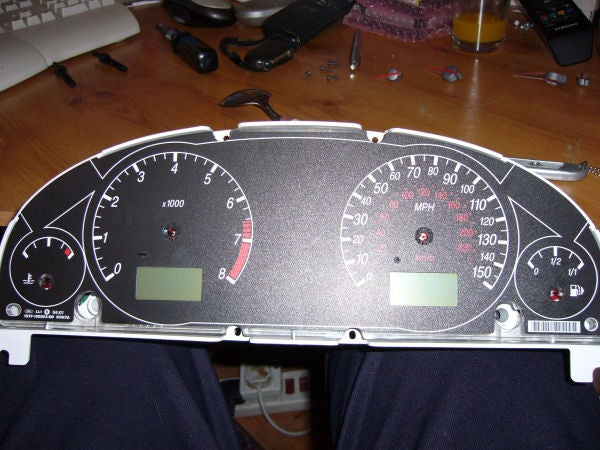
Then using a firm hold rip off the old dial face. It will come off in one piece and shouldnt leave any sticky marks behind. Now you can carefully remove the needle rest pegs. Refit the rest pegs to your new dial face. If using Lockwood dials they should be a snug fit, but if a bit loose use a TINY dab of superglue. Peel of the sticky tabs on the new dials and fit to the clocks, but dont push down firmly just yet. You may need to adjust them. Test fit the perspex face to make sure you have them in the right place. Take time to get them right as it will only do your head in if you put it all back together and they aren't right! If needed remove and refit them. Once you're satisfied they are in the right place then push them firmly down into place.
Setting the dials. Dont refit the perspex face just yet as theres a few things to do first. You need to loosely refit the clocks to the car, holding them in place with the 2 screws. Dont forget to reconnect the plug at the back first. At this stage you dont need any of the other bits of trim fitted. Reconnect the battery. Using the trip reset button (held in place for now) push in the trip reset and hold while starting the car. Keep holding until TEST is displayed where your odometer usually is. It is now in test mode, and you can scroll through various codes etc by pressing the trip reset button. Scroll through until you find the digital rev counter. Using it as a guide refit the rev counter needle. Dont push it down firmly until your satisfied you have it in the right place. Also at this stage you can refit the fuel gauge needle using the readings you took before you started. Next find the reading which says SP00000?.
This is a digital speedo.Edited by Conor due to safety concerns: For the next bit, you will need the front of the car lifted up in the air on axle stands using the jacking points so the wheels can rotate freely. Put the car in gear and increase the speed, changing gears as required, until the digital speedo reads 30MPH. Maintaining that, using cruise control if you have it, refit the needle so its pointing at the 30MPH mark. Again, only loosely refit it for now as you will probably need to adjust it. Check the speedo needle with the digital readout at different speeds, i.e 40/50/60/70mph. Once you are sure you have it about bang on where it should be, push the needle firmly home. Slow down the speed gently using the brakes until the wheels stop rotating then turn the car off. You can now lower the car off the axle stands. Next take the car for a run to get it up to temperature. When you get home again you can refit the temp gauge needle (using the readings you took before) as the engine will be up to running temp now. Switch off engine and disconnect battery, and as before leave for at least 5 minutes.
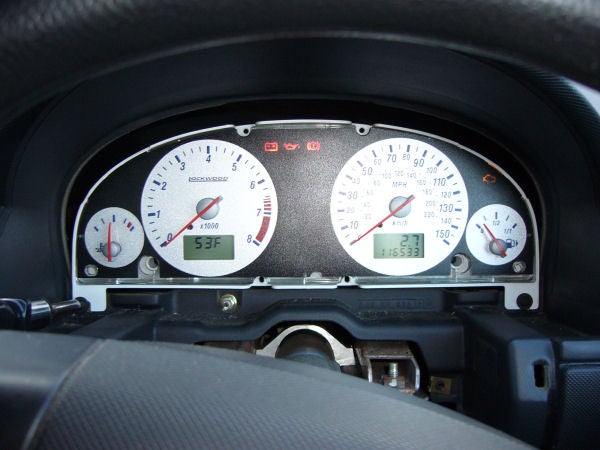
Remove clocks, push all needles firmly home (place something underneath the needles so that all needles will have the same illumination), and refit perspex face. Refit the clocks properly, reconnect battery, and start engine. The ECU will now need to be reset, so follow the ECU reset guide in the workshop. Refit all interior trim panels etc. Stand back and admire your work!
Alternative Needle Setting Method
just turn the ignition to position 2 ( dont start the engine ) & then wait a few moments for the system to run through a sweep test & reset itself & then place the revs & speed needles on the 0 setting & that should do it as daft as it sounds.
put the fuel needs to be where the old one was & the temp is best off being left until the engine is nice & warm & then just put back on in the middle/normal position as it was before.
then run through the dash diagnostics test to verify the speed/rev settings work as they should.
Final Results
Related Guides
Changing The LCD Panels Colour
Submitted by TDCi 160+
Alternative Needle Setting Method & Guide images by Compuwiz_uk







 Your Privacy Choices