Registrations
We now manually approve all new user accounts due to a large influx of spam bots. Accounts are normally approved within 48 hours.
If you need any help with using this Wiki, please ask here: TalkFord.com Wiki Submission Forum
Difference between revisions of "Gearshift Gaiter"
52graphite (Talk | contribs) m |
52graphite (Talk | contribs) (→Parts required) |
||
| Line 3: | Line 3: | ||
== Parts required == | == Parts required == | ||
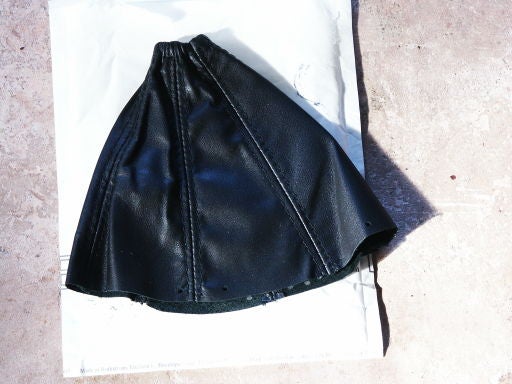
| − | * New gearshift gaiter. I got mine from [http://stores.ebay.co.uk/TOP-GAITERS-BOOTS GaitersBoots] on eBay (username foudabuzaid). Get one specifically for the Mk3. | + | * New gearshift gaiter. I got mine from [http://stores.ebay.co.uk/TOP-GAITERS-BOOTS GaitersBoots] on eBay (username foudabuzaid). Get one specifically for the Mk3 Mondeo. |
[[Image:gaiter1.jpg]] | [[Image:gaiter1.jpg]] | ||
Revision as of 16:00, 19 September 2008
If the gearshift gaiter (the leather / plastic bag around the gear lever) is letting the interior of your car down, here's how to replace it. This takes about 45 minutes once you have the part.
Parts required
- New gearshift gaiter. I got mine from GaitersBoots on eBay (username foudabuzaid). Get one specifically for the Mk3 Mondeo.
Tools required
- Small flat-blade screwdriver for bending staples.
- Long-shafted large flat-blade screwdriver or similar metal instrument with plastic handle for melting tabs.
- Pliers.
- Small stout wire cutters.
Method
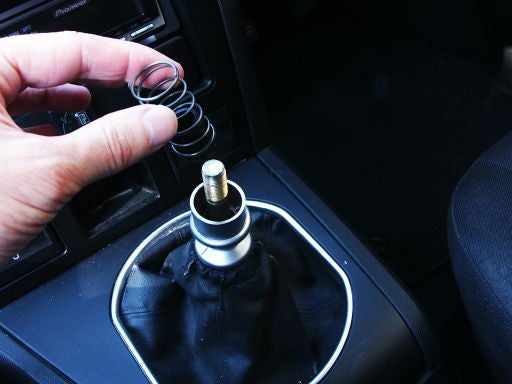
Remove the gearknob:
and the reverse interlock spring:
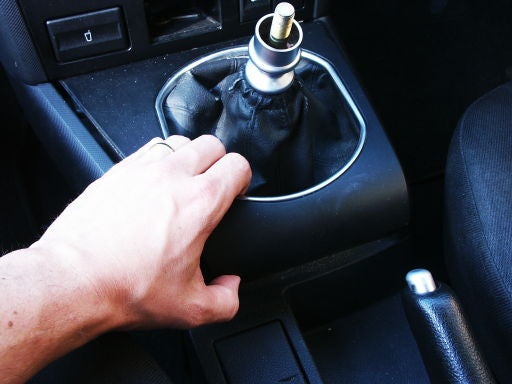
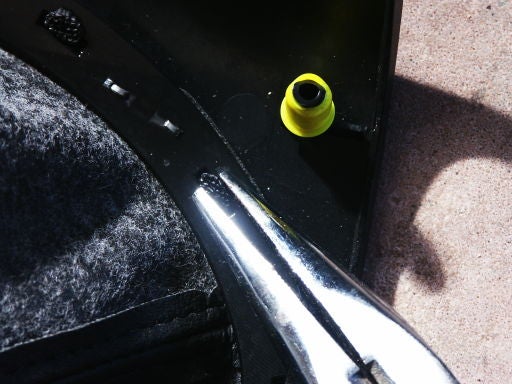
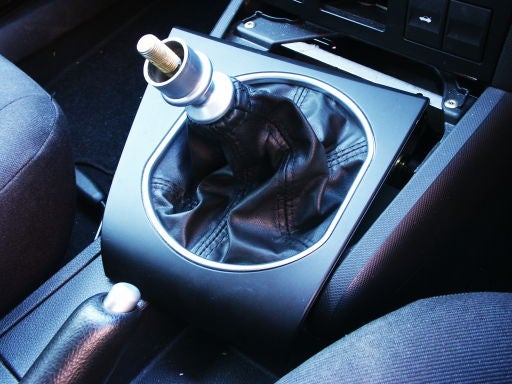
Pull up the rear edge of the top plate, then detach the plate from the console by pulling gently rearwards. The yellow "peg" fixings are intended to stay on the console, but mine came off with the plate. It doesn't matter.
The top of the gaiter is held onto the silver part of the lever with an elasticated hem. Simply pull it off upwards, one section at a time:
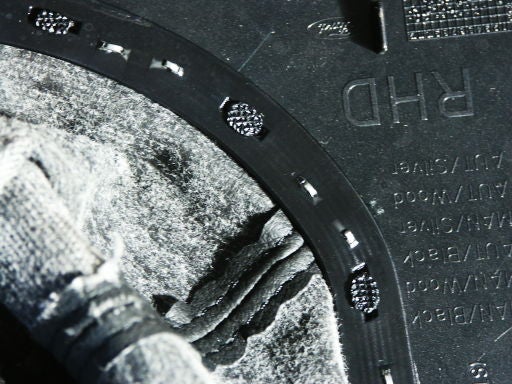
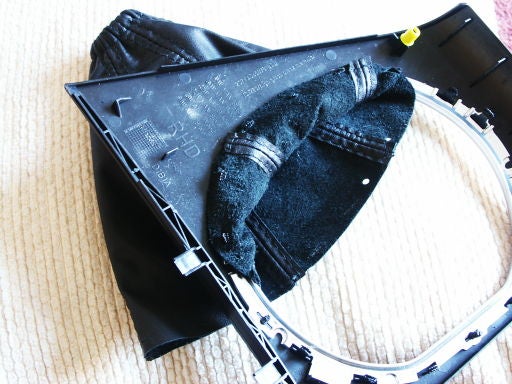
The gaiter is stapled to a black plastic ring, which is held onto the top plate with melted plastic tabs:
You need to squeeze, and possibly cut these tabs to free the black ring. Try to leave as much material as possible on the tab, as we'll need that later to re-fix the black ring:
Lift off the gaiter and the black ring. Keep the other parts safe - we'll be coming back to those later.
With a small screwdriver or similar implement, bend up the (strong) staples ready for cutting. Try not to break the brittle plastic ring: do this on a firm surface:
Then cut the staples with your cutter. Look out for flying debris - I should probably advise you to wear eye protection.
Separate the old gaiter from the black ring. Then, using the big pliers, or whatever other method you fancy, work around the black ring removing the bits of staple. This is the hardest part of the job.
At this point, I was envisaging having to sew the new gaiter to the black ring. That's when I discovered it came pre-cut to exactly fit the black tabs on the top plate! GaitersBoots: you guys rock. I thought the gaiter would be a generic part, but it's truly made to match the vehicle. If yours differs, I suggest cutting slots in it with a very sharp knife to do the same trick.
So, fit the new gaiter to the tabs on the top plate. There are a number of ways to do this incorrectly, so make sure the holes line up and that you've got the gaiter the right way up:
Looks finished! But it's not secured yet...
Refit the now-stapleless black ring over the tabs, trapping the edge of the new gaiter. The black ring has a "bend" to match the top plate, so it only goes on one way around. And yes, I did manage to break my black ring (top of photo), but a dab of spuerglue sorted that out. It's actually not too critical.
Using a large flat-blade screwdriver and a heat source (I used our gas hob), go around the rim melting the black tabs over the black ring. Do this in a well ventilated area, as the plastic smells a bit when melted. Try to "spread" the plastic a bit like butter, and press down on the black ring near the tab to try to close the gap as much as possible (not shown, as I didn't have enough hands to do that and take the photo). Obviously, take care with very hot screwdrivers. If you're unsure about this, get a grown-up to help you because the screwdriver is hot, hot, hot!
The finished article, ready for re-fitting:
Re-fit the top plate to the console - push the elasticated hem over the lever to the right position, push the front edge in under the centre stack, then press down on the rear edge to secure:
Replace the spring, plastic bit downwards:
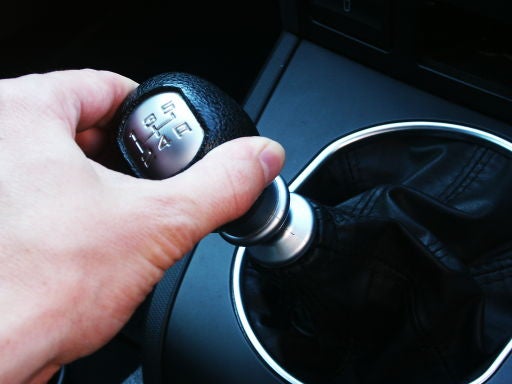
...and screw the knob back on.
Done!








 Your Privacy Choices