Registrations
We now manually approve all new user accounts due to a large influx of spam bots. Accounts are normally approved within 48 hours.
If you need any help with using this Wiki, please ask here: TalkFord.com Wiki Submission Forum
Difference between revisions of "Water Pump TDCI 115PS"
(New page: ===Waterpump Replacement on Mondeo 2.0 TDCI 115PS=== ==Tool's Required== You will need, Large Pliers, Small Socket set (with 8&10mm sockets & extn bars) 8&10mm ring Spanners, a 1/4" driv...) |
(→Images to Assist) |
||
| Line 39: | Line 39: | ||
==Images to Assist== | ==Images to Assist== | ||
| − | [[Image: | + | [[Image:overview.jpg]] |
| − | [[Image: | + | [[Image:Thermostat_housing.jpg]] |
| − | [[Image: | + | [[Image:air_intake.jpg]] |
| − | [[Image: | + | [[Image:Solenoid.jpg]] |
| − | [[Image: | + | [[Image:EGRValve.jpg]] |
| − | [[Image: | + | [[Image:rear_egr.jpg]] |
| − | [[Image: | + | [[Image:pumps.jpg]] |
--[[User:Mutl3y|Mutl3y]] 15:29, 28 October 2009 (UTC) | --[[User:Mutl3y|Mutl3y]] 15:29, 28 October 2009 (UTC) | ||
Revision as of 11:34, 28 October 2009
Contents
Waterpump Replacement on Mondeo 2.0 TDCI 115PS
Tool's Required
You will need, Large Pliers, Small Socket set (with 8&10mm sockets & extn bars) 8&10mm ring Spanners, a 1/4" drive ratchet/suitable tool to release the tensioner, 5L of replacement coolant.
Steps
1) Disconnect Battery (as always)
2) Drain system, into a bucket if you wish to re-use coolant.
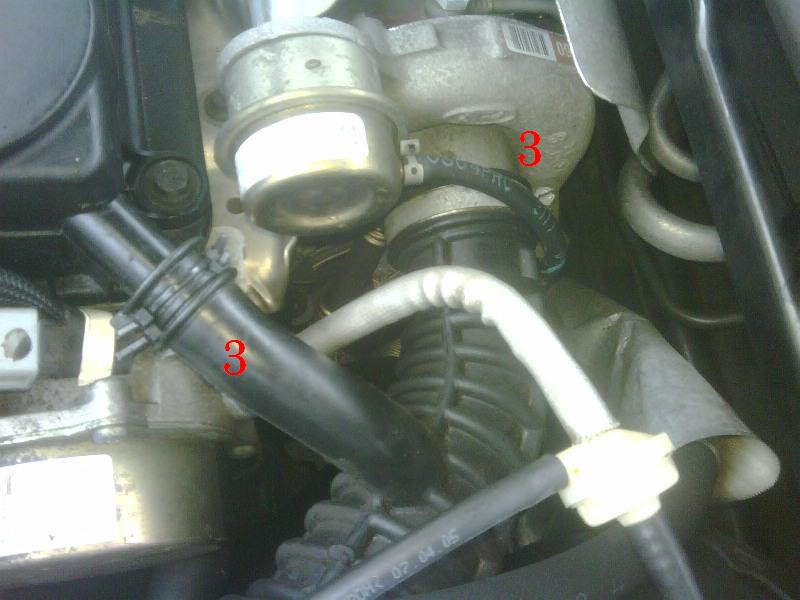
3) Remover Air intake pipe's/top of box and disconnect from Turbo & engine breather (as in photo i replaced the metal once only clip with 2 cable ties).
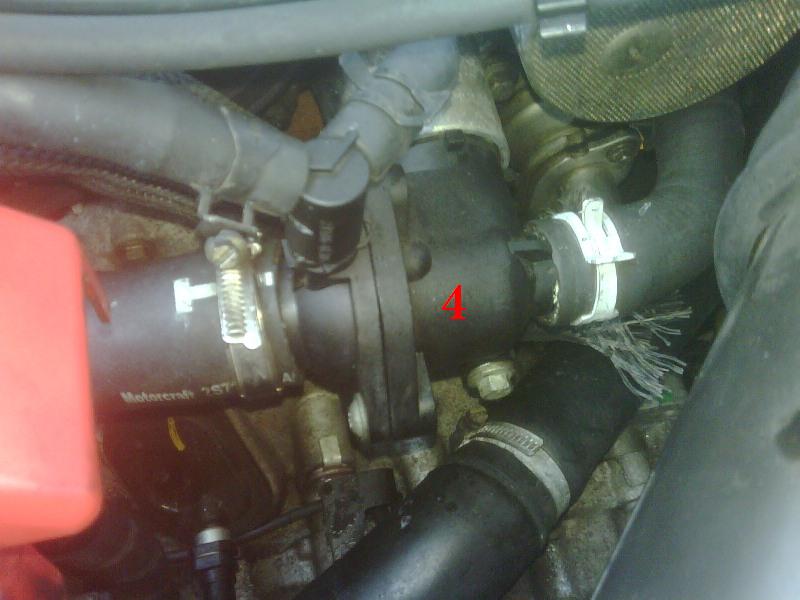
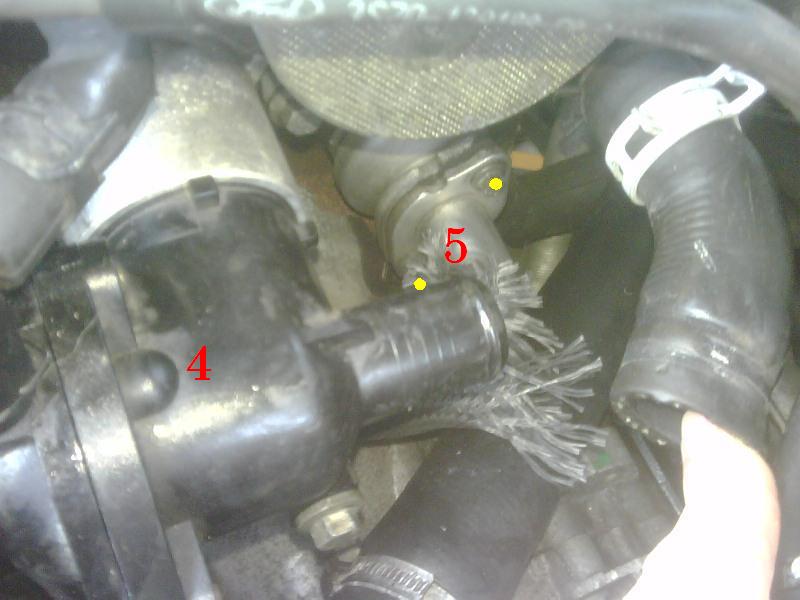
4) Remove Thermostat housing, (disconnect pipes & 1 bolt)
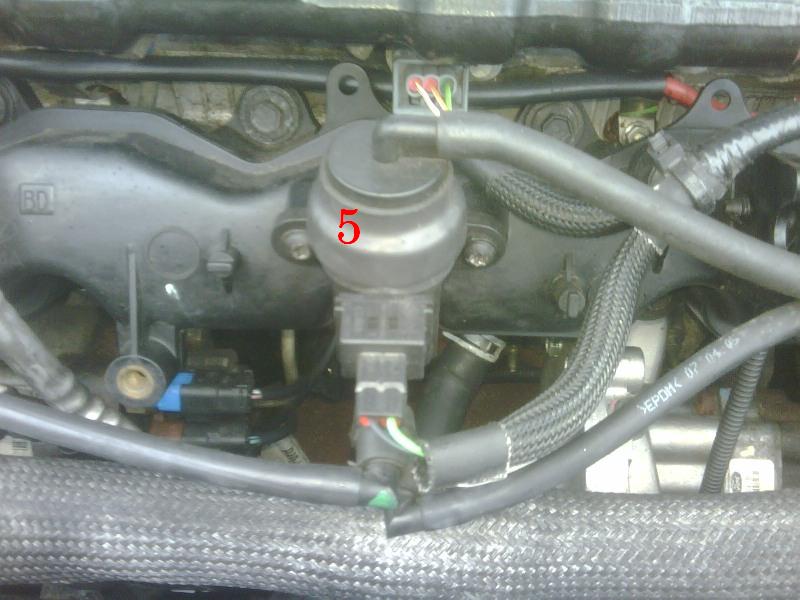
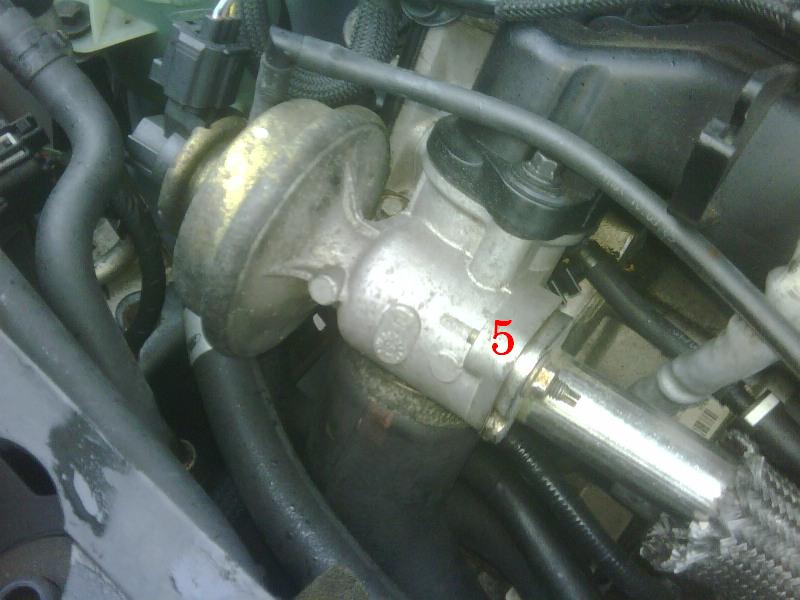
5) Move EGR Solenoid out of the way (2x torx screws) & Remove EGR pipe (5 bolts, 2 front, 1 in middle on bracket, 2 at the rear)
6) Remove Power steering belt cover (1 bolt)
7) Release / Remove Power steering pump belt, using a 1/4" ratchet handle in the tensioner as a leaver to release the tension on the belt.
8) Disconnect Pipes Connected to water pump with pliers
9) Loosen 4 bolts on pump to engine
10) Loosen 2 bolts joining power steering pump to water pump
11) Remove all bolts that you just loosened
12) Separate water pump from PS pump (there is a shaft that runs between them, persuaded it to come out with a large flat screwdriver as leverage (see red arrows))
Re-Assembly
Re-assemble in reverse order, making sure you grease the shaft between the two pumps, and that you will need to re-use the Black thermostat attached to the side of the pump, i greased this too, this helped put it back in but also re-seal, I used my old gaskets as they were better quality and not damaged. When doing up the bolts between the pumps and from the water pump to the engine, loosely fit these and once all lined up and in place tighten...
Images to Assist
--Mutl3y 15:29, 28 October 2009 (UTC)


 Your Privacy Choices