Registrations
We now manually approve all new user accounts due to a large influx of spam bots. Accounts are normally approved within 48 hours.
If you need any help with using this Wiki, please ask here: TalkFord.com Wiki Submission Forum
Difference between revisions of "Leather Trim Centre Armrest Lid"
Compuwiz uk (Talk | contribs) (Created page with "{{note|'''The Ford Mondeo hit our roads in 1993, and has consistently been a sales success. Now on its 4th incarnation, it remains a drivers favourite.'''<br> '''For more informa...") |
Compuwiz uk (Talk | contribs) |
(No difference)
| |
Latest revision as of 09:57, 20 March 2012
For more information, visit the Ford Mondeo forum on TalkFord.com, the definitive resource site covering all Fords from the present day to the 1970's.
|
Overview Guide | |
| Ford Model: | Mondeo |
|---|---|
| Petrol/Diesel: | ???? |
| Estimated Cost: | ???? |
| Difficulty? | ???? |
| How long does this take? | ???? |
Contents
Approx Fitting Time
30 - 40 minutes
Parts Required
Standard Mk3 Mondeo Arm Rest Leather Armrest Cover ( the one in this guide is from ebay ) Torx Screwdriver
Adhesive ( Hotmelt glue etc )
Fitting Instructions
Preparing The Armrest For Fitting
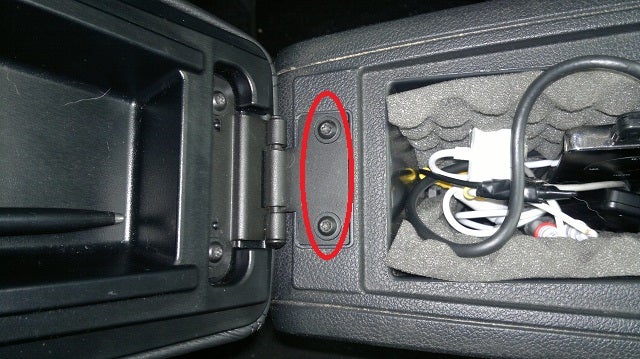
Open The Arm Rest Lid
Undo the 2 torx screws holding the lid to the floor console.
Now Remove the 2 torx scres holding the lid bracket to the lid.
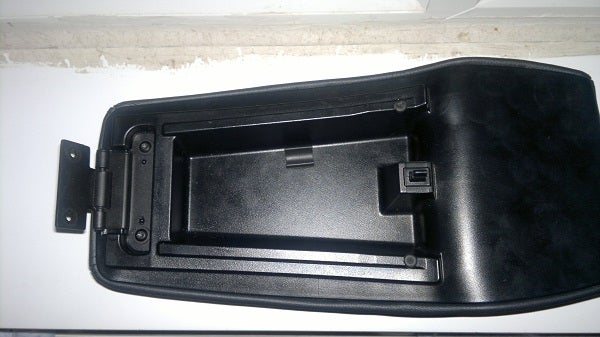
This is what your left with.
Now prise out the underside of the lid leaving you with just the armrest lid
Fitting The Cover
Open up the cover & align it properly ( the 2 cutouts goto the front of the armrest. )
Insert the front of the armrest & align it with the cutouts in the cover.
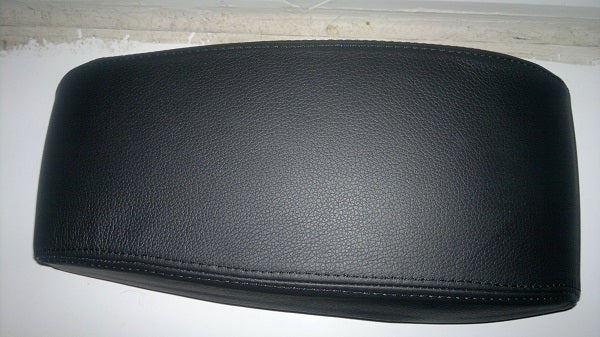
Then push the rear of the armrest into the cover & check the alignment of the stiching.
Now pull the front cover between the cutouts until a few mm's of the cover is inside the lid plastics ( make sure you dont fully cover the mounts the cutouts are there for ) & glue the cover inplace.
now do the same for the rest of the cover bit by bit making sure the stitching stays aligned & the cover is kept tight.
To do the rear properly may involve some trimming but its not 100% required as you can tuck enough cover into the rear section as required ( just ) this does not need glueing down unless it wont stay inplace properly.
Rebuilding & Refitting the Armrest
Once the cover is inplace & your happy with it, let any glue set suitably if its not already set.
Slide the front of the lid underside into the 2 mount points on the lid top.
now push the lid underside down while still pushing the cover into the front mounting points & hopefully the screw holes should line up at the back or be pretty darn close ( if nowhere near then retry the fitting of the lid underside from the start & make sure your pushing firmly to the front of the lid while putting the underside inplace ) if the fitting is close enough to see the screw holes you should be OK with just putting the screws inplace as it should align itself & tighten up when the screws go in ( they did for me anyway )
if the lid underside will not let you release enough pressure to perform the next step then leave off the bracket & just use the screws as its less fiddly & has the same result of forcing the lid underside into place
Place the bracket in position & add one of the screws ( may not be able to fully fasten this screw down yet though ), then add the second screw & fully fasten both down nice & tightly.
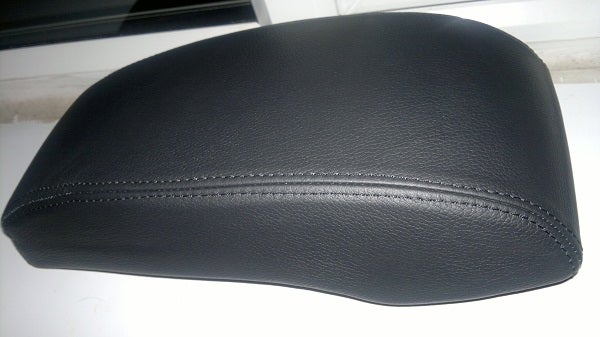
The lid is now ready for refitting back to the car if your happy with the result.
Try as i might, i was unable to get rid of 2 small Soft Spots at the upper rear corners of the cover ( i put this down to the cover being made pretty straight whereas the lid is wider at the front than the rear etc - its either that or my fitting method lol


 Your Privacy Choices