Registrations
We now manually approve all new user accounts due to a large influx of spam bots. Accounts are normally approved within 48 hours.
If you need any help with using this Wiki, please ask here: TalkFord.com Wiki Submission Forum
Difference between revisions of "Change the gear shift gaiter"
| Line 17: | Line 17: | ||
[[File:Clipsmorb.jpg]] | [[File:Clipsmorb.jpg]] | ||
Use the rest of the paper clip to hold the gaiter in place when you remove the needle to make hole nr 2 (or use two needles) then when this has been done, thread the bendt paper clip into the hole from the outside and cut of the legs, leaving enough to bend it like the original clips were. | Use the rest of the paper clip to hold the gaiter in place when you remove the needle to make hole nr 2 (or use two needles) then when this has been done, thread the bendt paper clip into the hole from the outside and cut of the legs, leaving enough to bend it like the original clips were. | ||
| − | [[File: | + | [[File:Bendtmorb.jpg]] |
Repeat this for all the corner clips and then do the middle ones, when this is done you can install it to your car and enjoy the new and improved gear shift gaiter | Repeat this for all the corner clips and then do the middle ones, when this is done you can install it to your car and enjoy the new and improved gear shift gaiter | ||
[[File:Donemorb.jpg]] | [[File:Donemorb.jpg]] | ||
Latest revision as of 09:23, 23 February 2016
This MK1 S-Max gear shifter has a design flaw that was covered in the service program. However since it's not a major fault there were never call backs due to it, it was to be performed on next service. I'we seen that there are allot of vehicles that have missed this rectification and subsequently have punctured shifter gaiters, mine had this when i bought it so I decided to change it. If you buy the part from Ford you get a complete kit which is really easy to swap, just pull up the bezel around the shifter gaiter and it releases. Don't put the new one on just yet and call it a day!
Inside the shifter mechanism you will see two sharp edges on either side of the shifter stick, Beware you can actually cut your fingers on these! these edges should be filed down a bit so they no longer are sharp, you can do this with a grinder or a file of some sort, it's just ABS plastic so it's not that hard.
With this done you can pop the new gaiter on and go on your way!
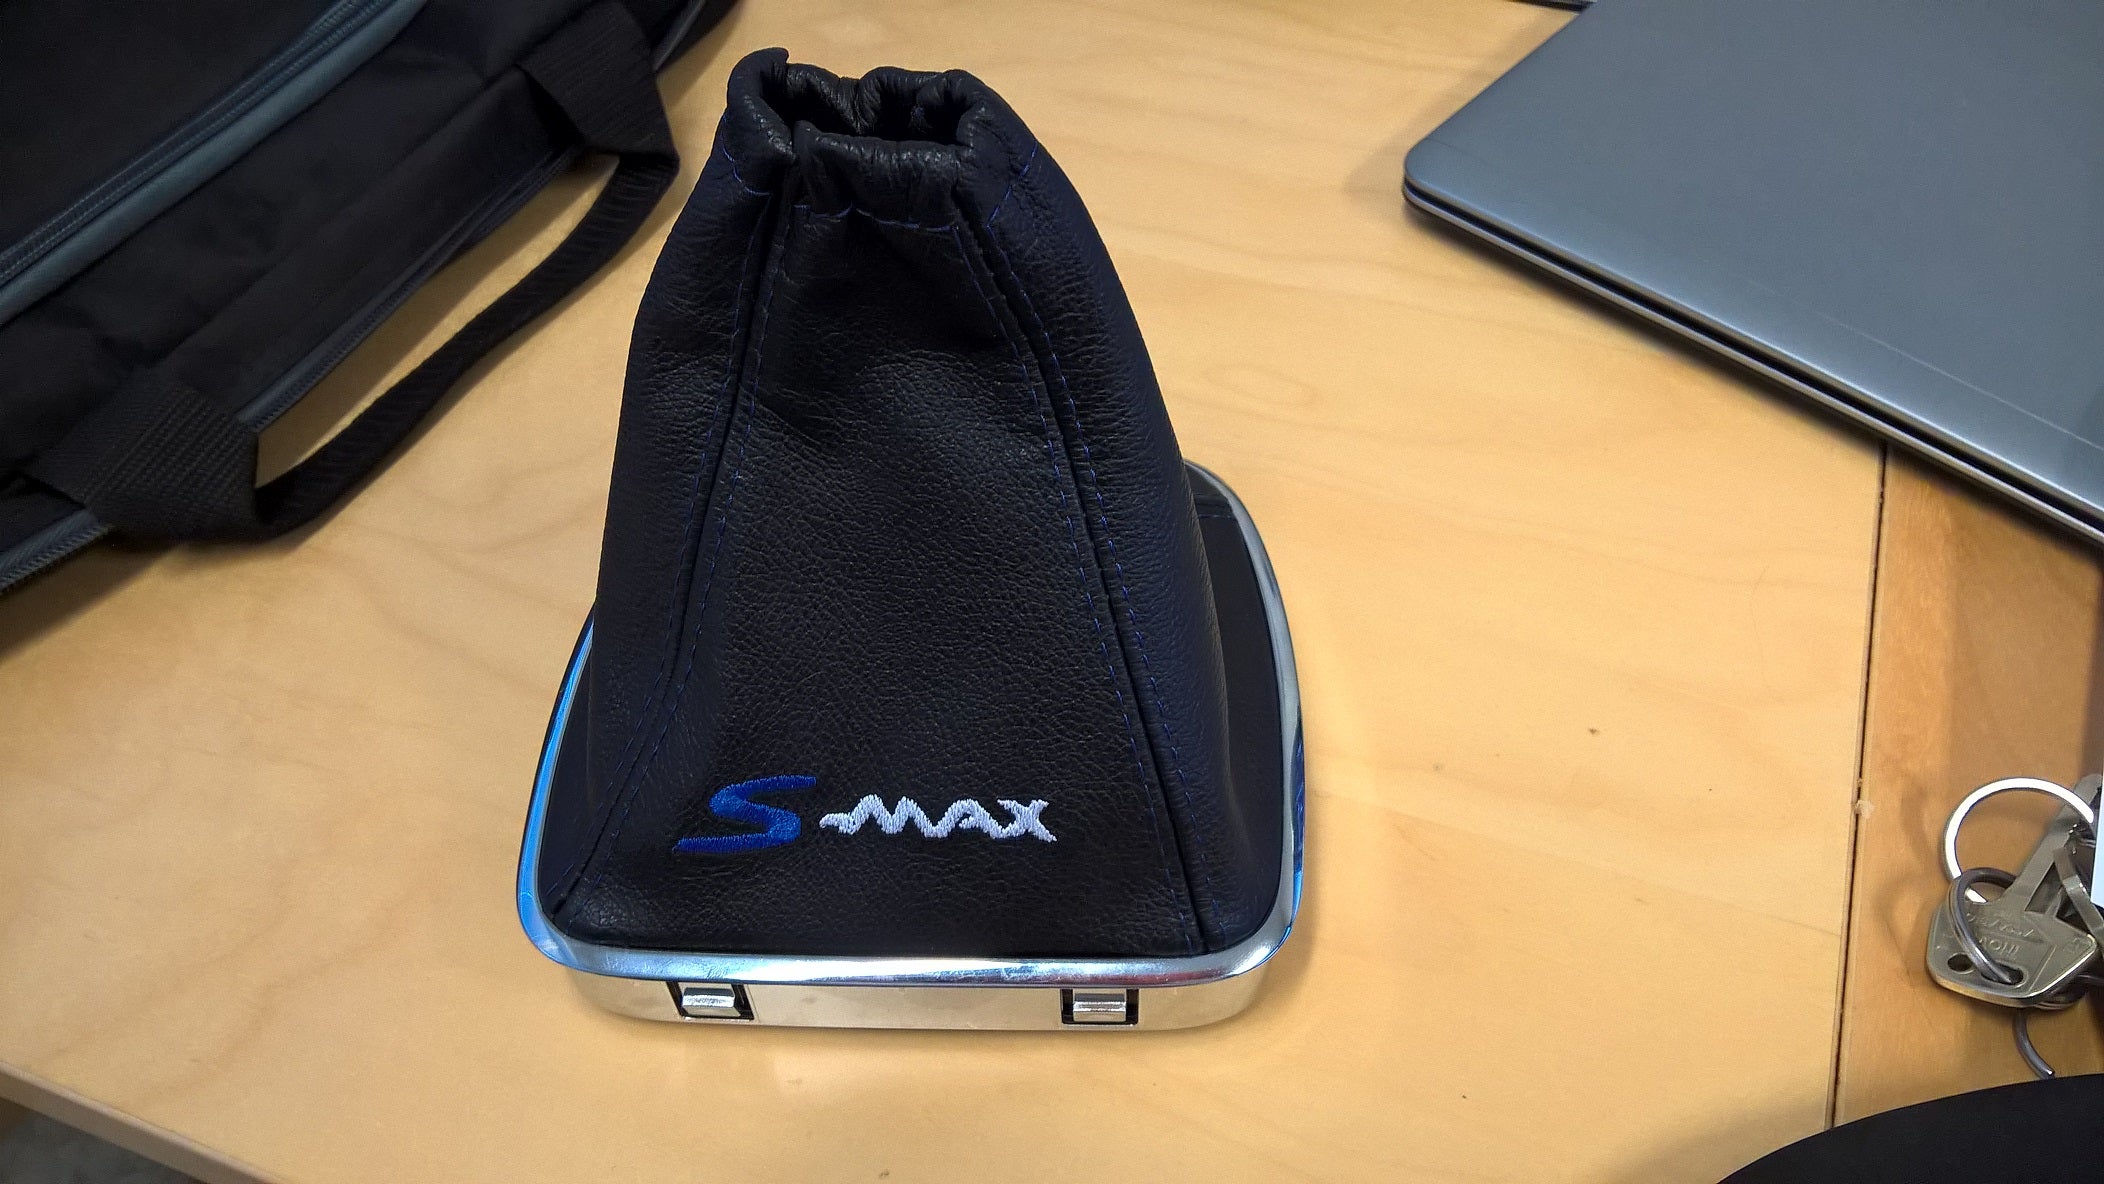
If you like me did not buy the gaiter from Ford, I did it because i found one on Ebay that has blue stitching and "S-max" embroidering on it, these usually come without the plastic frame to mount on so it's a bit more fiddely to get on, but fear no more! this is how to do it.
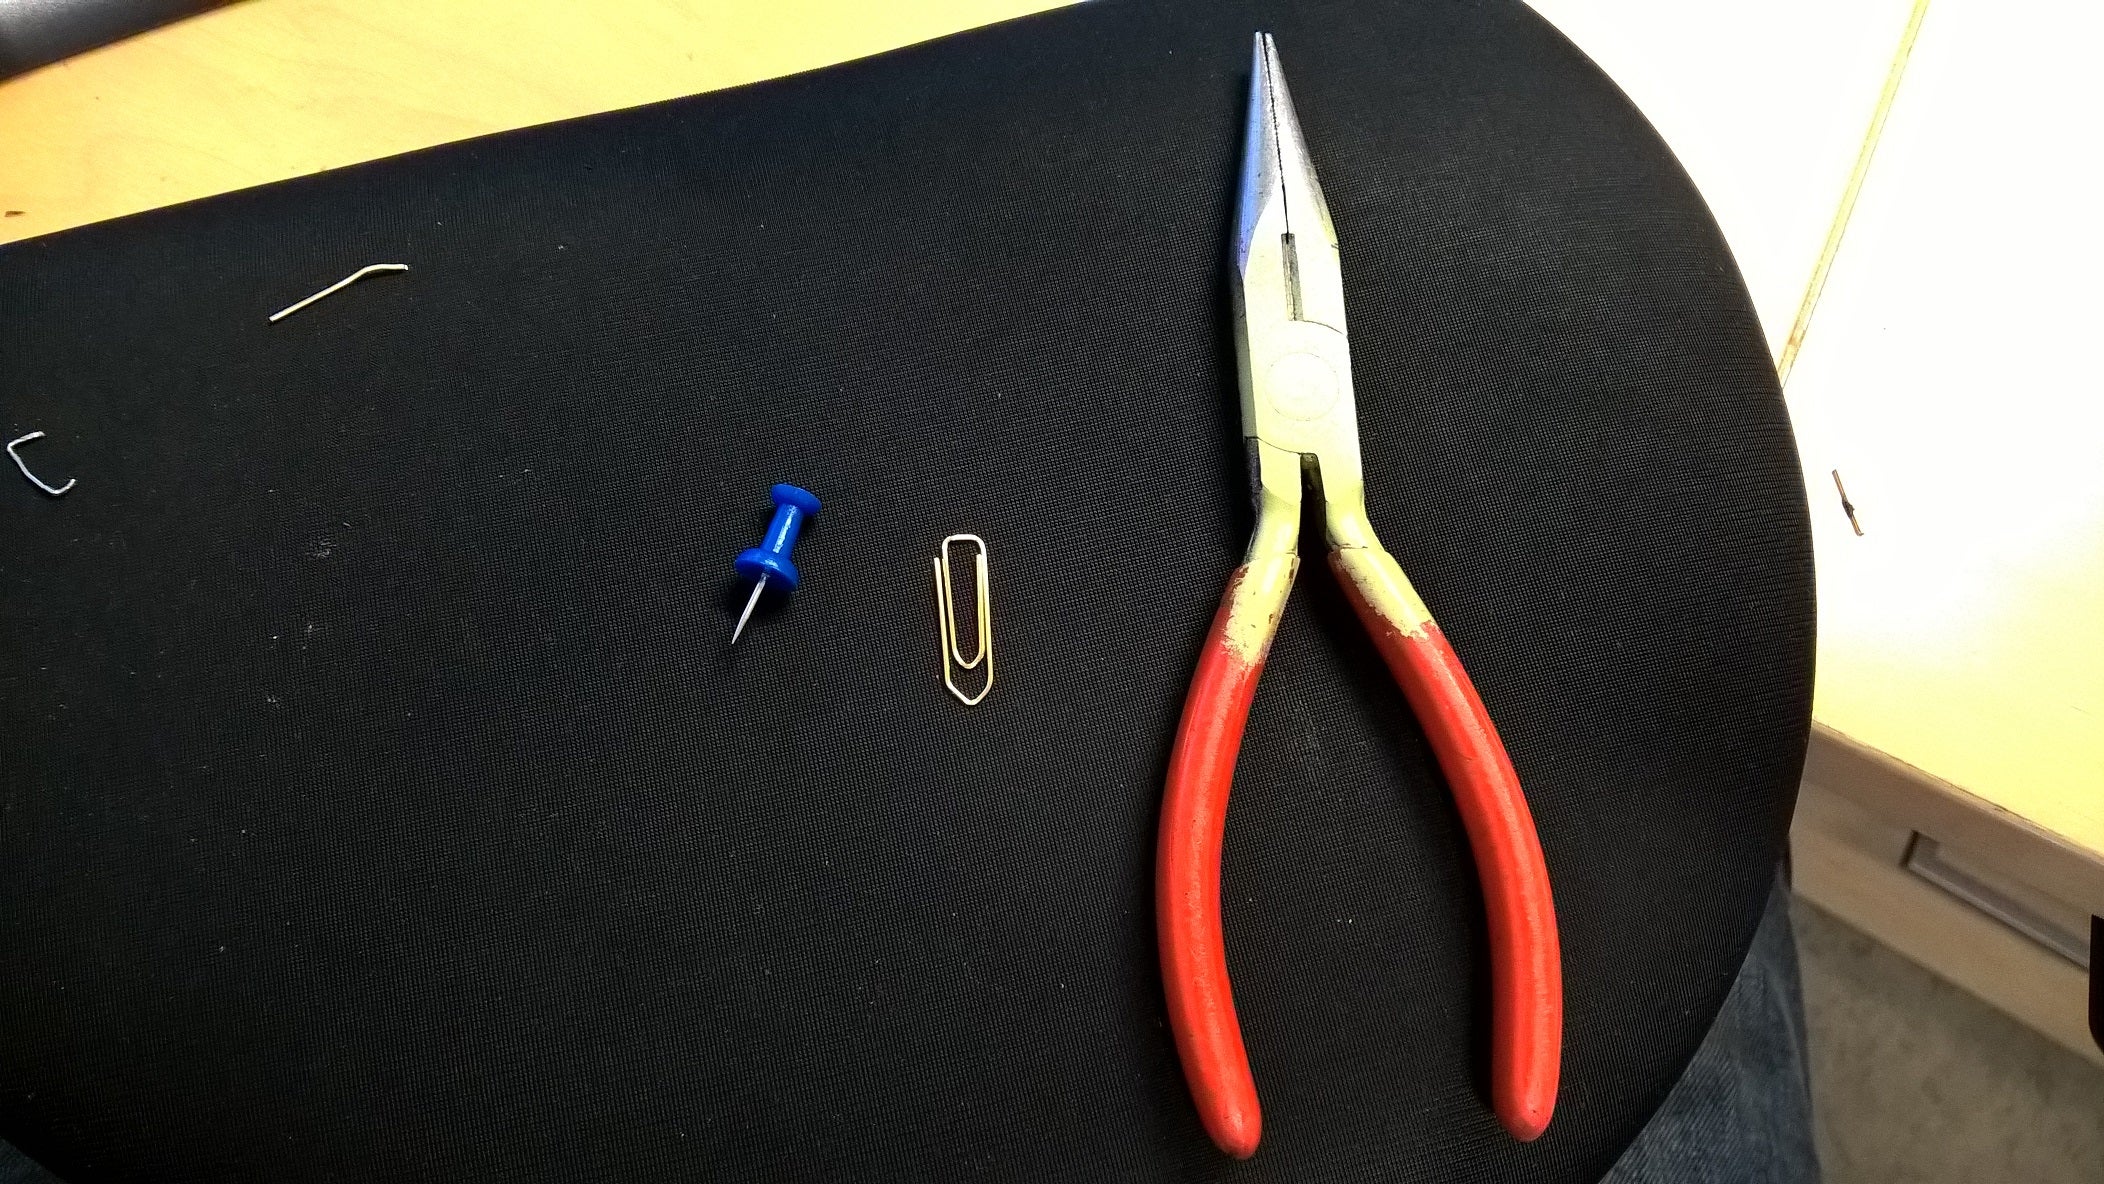 Tools needed: paper clips, needle nose pliers and a sharp needle of some sort, with the same diameter as the paper clips.
Start by gently removing the clips that hold the gaiter to the black plastic, be carefull not to break the plastic! With them out chuck the old gaiter boot in the bin and get out the new one!
File:Removedmorb.jpg
Place it on the plastic ring and adjust it to the position you want it to be in, now take the needle and stick it in from inside the ring and puncture the leather gaiter and leave it there
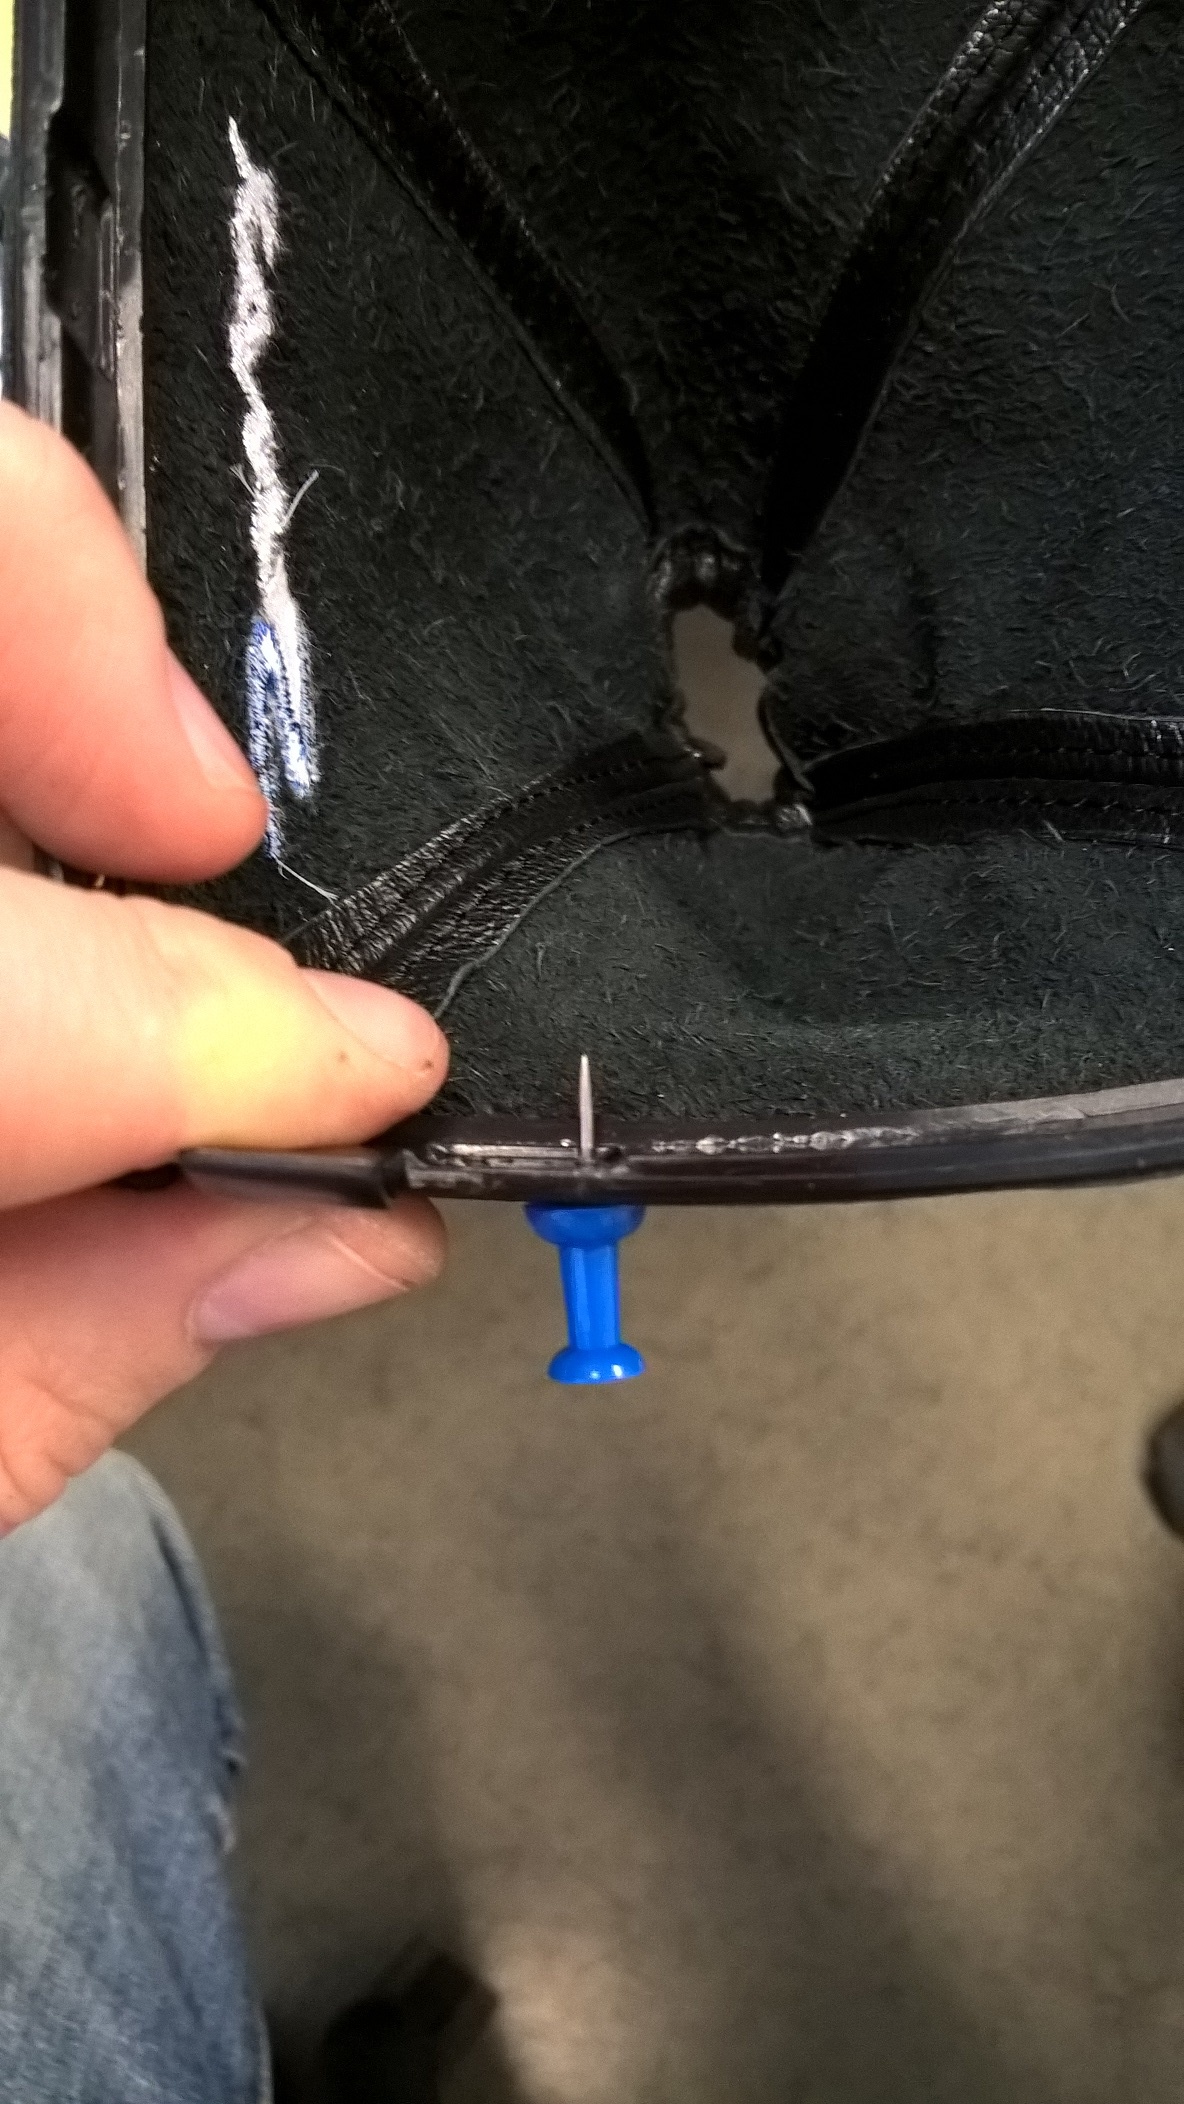
bend the paper clips out straight and cut of about half the length, bend this to about the same sice and form as the old clips that held the original part on, but with longer "legs" in lack of other words.
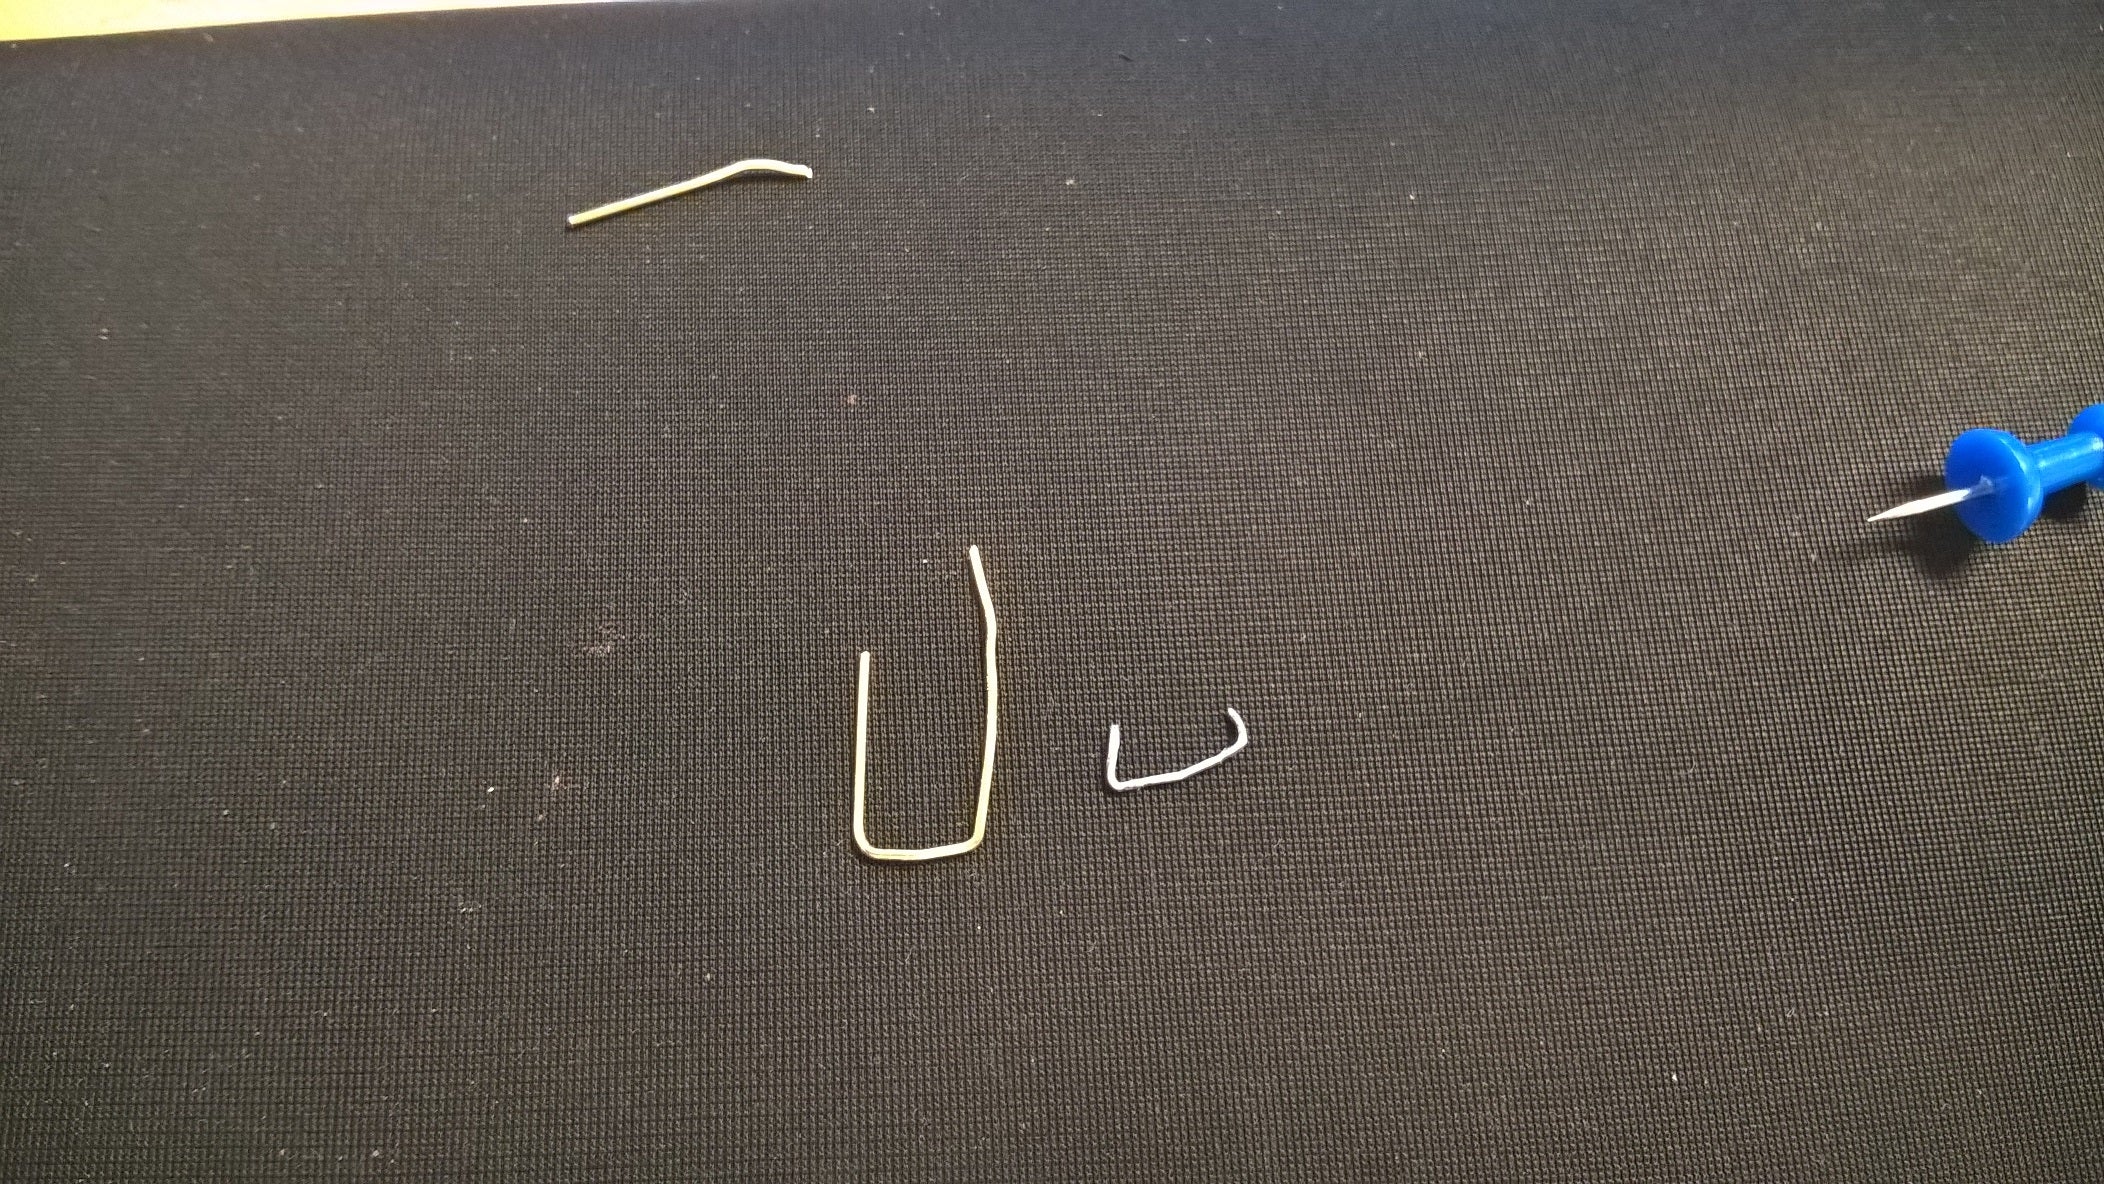 Use the rest of the paper clip to hold the gaiter in place when you remove the needle to make hole nr 2 (or use two needles) then when this has been done, thread the bendt paper clip into the hole from the outside and cut of the legs, leaving enough to bend it like the original clips were.
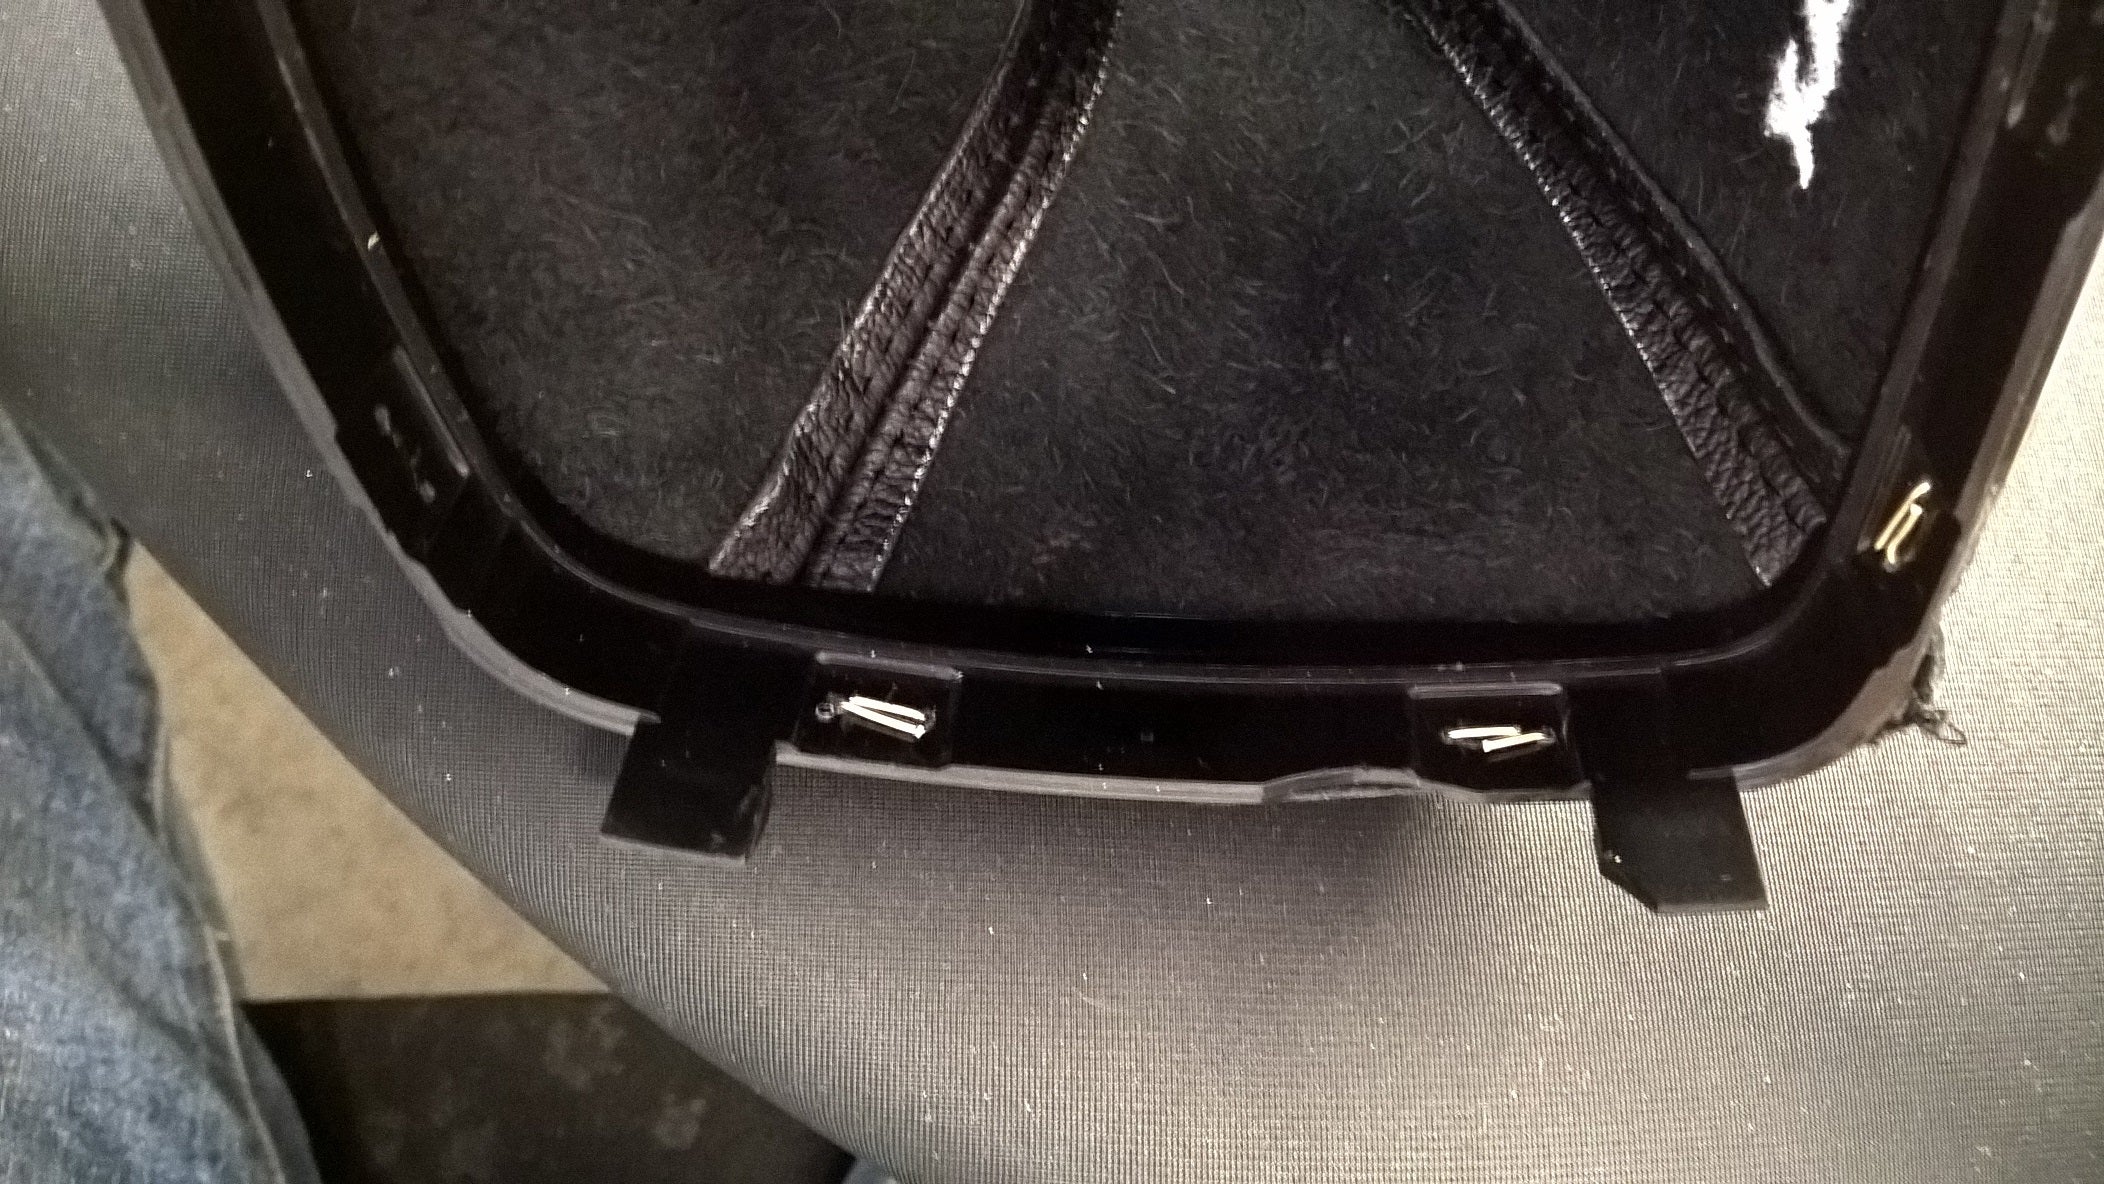
Repeat this for all the corner clips and then do the middle ones, when this is done you can install it to your car and enjoy the new and improved gear shift gaiter
 Your Privacy Choices