Registrations
We now manually approve all new user accounts due to a large influx of spam bots. Accounts are normally approved within 48 hours.
If you need any help with using this Wiki, please ask here: TalkFord.com Wiki Submission Forum
K&N Filter Cleaning
How to clean a re-useable K&N filter - submitted by Alzay@scottishmondeoforum
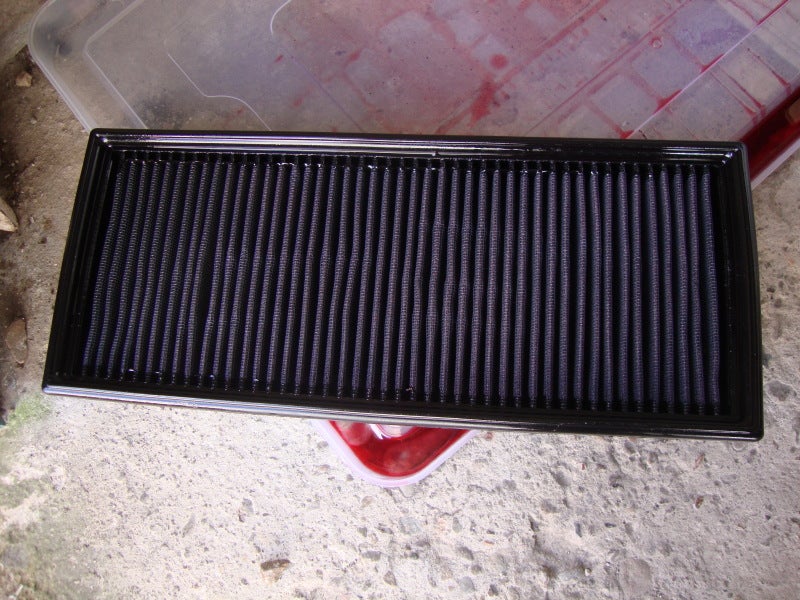
The job of cleaning the re-usable K&N panel filter.
These are normally fitted then forgot about but its essential to regularly clean them and re-oil the filter.
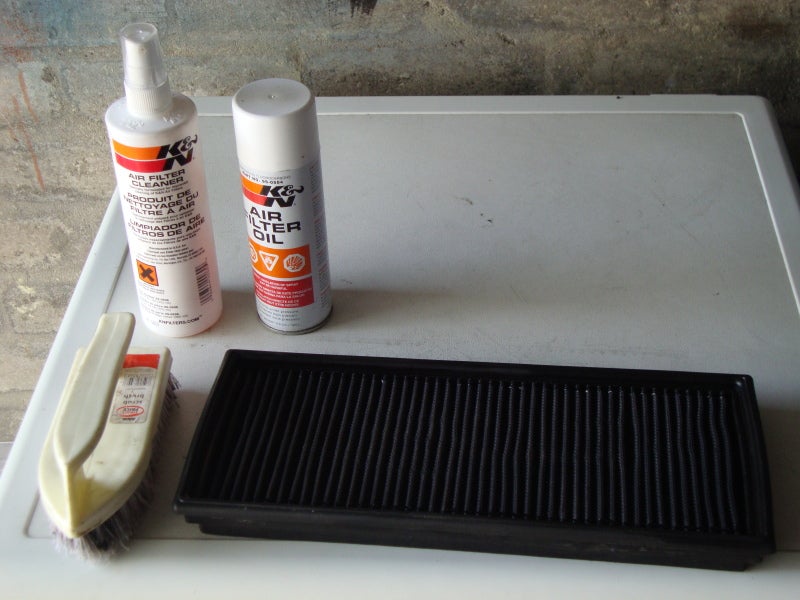
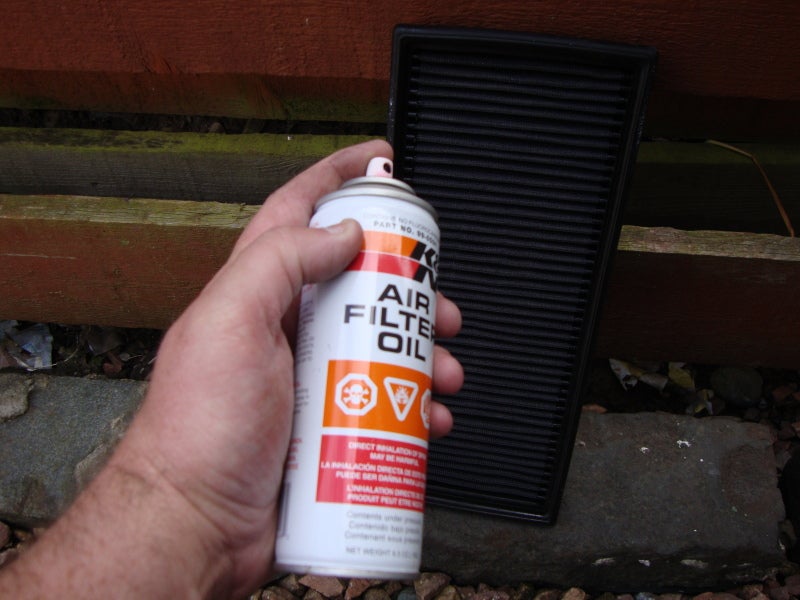
The tools required are a medium stiff brush, K&N filter cleaner spray and K&N oil spray. DO NOT USE ANYTHING ELSE AS IT WON'T CLEAN IT PROPERLY.
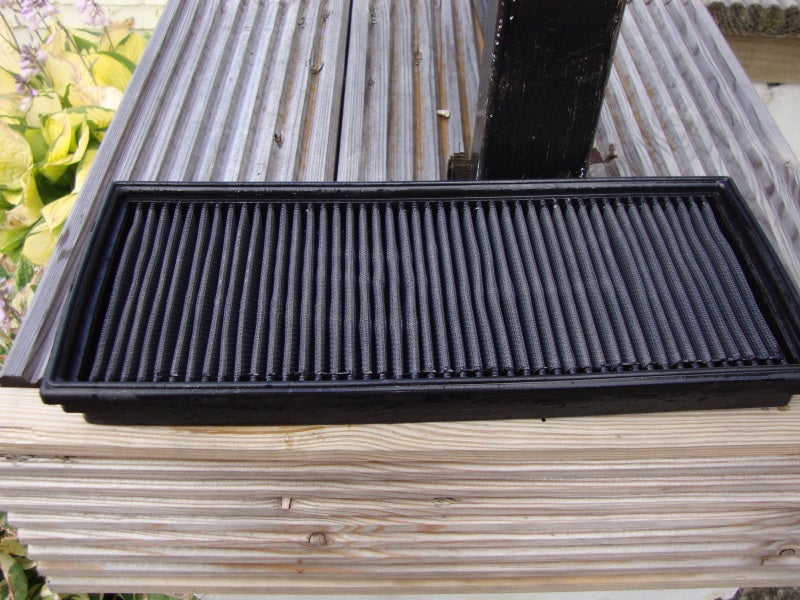
First obviously remove from the airbox. Bang filter to remove any loose flies and grit. Then brush with medium stiff brush to remove any loose debris. Couldn't believe how dirty it was.
1. APPLY CLEANER
FOLLOW ALL SAFETY INSTRUCTIONS ON THE K&N AIR FILTER CLEANER BOTTLE. IT IS RECOMMENDED TO UTILIZE K&N'S 32oz PUMP SPRAY CLEANER (P/N 99-0621) WHEN SERVICING LARGE OR DIESEL APPLICATION K&N AIR FILTERS.
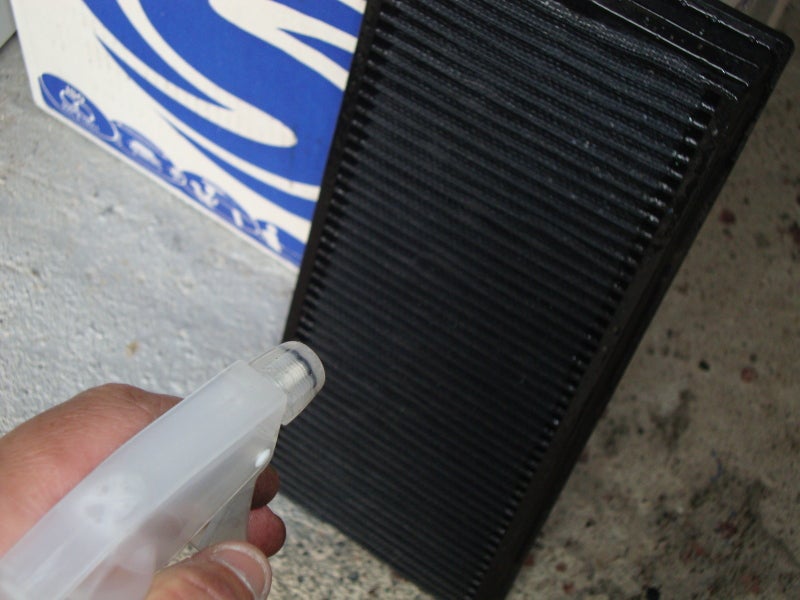
Spray K&N Air Filter Cleaner onto both sides of the air filter until it completely saturates the pleated material.
A. Apply K&N Air Filter Cleaner to clean side of filter
B. Apply K&N Air Filter Cleaner to dirty side of filter
Allow cleaner to soak into both sides of air filter for 10 minutes to loosen the dirt. Do not let cleaner dry on air filter.
CAUTION: THE USE OF ANY OTHER CLEANING SOLUTION OR METHOD COULD DAMAGE THE FILTER!
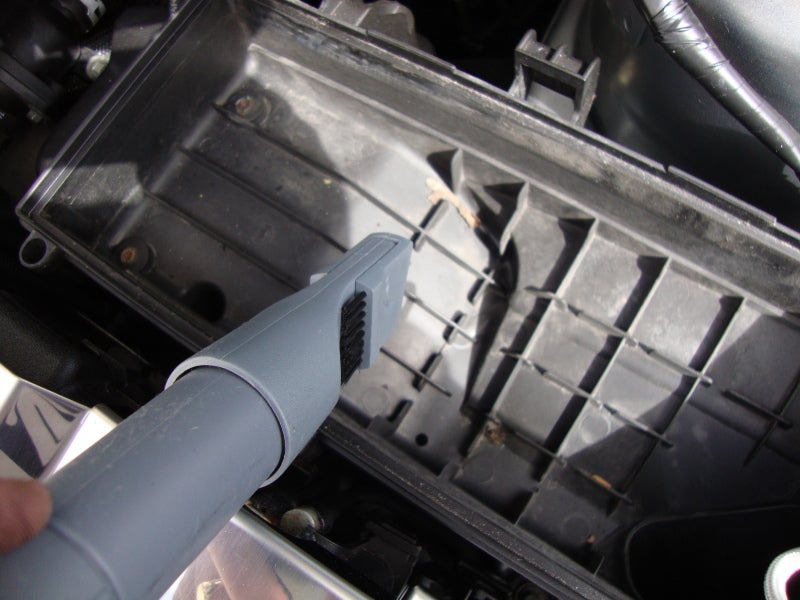
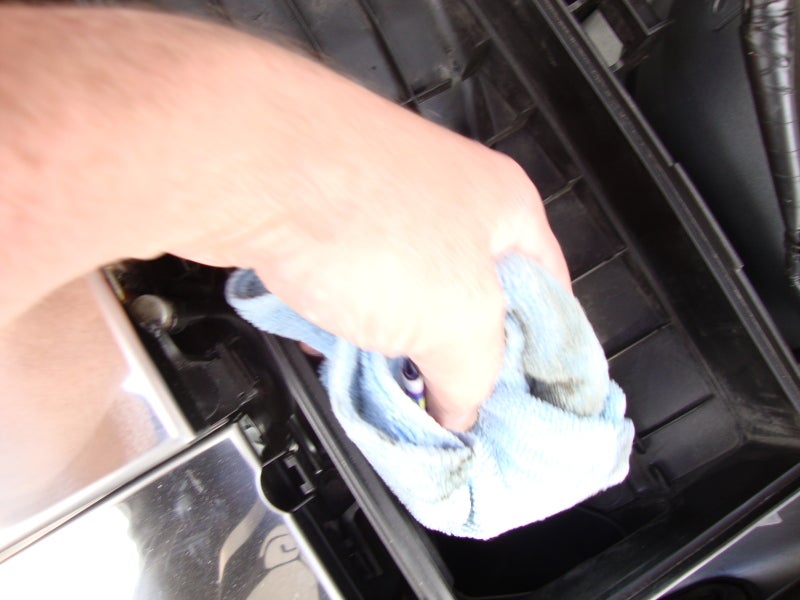
Whilst waiting clean the inside of your filter box to remove dirt and grit.
Rinse off air filter with cool low-pressure water. Allow gravity to flush dirt out of air filter by applying water to the clean side of the filter; up and down the length of the pleats.
Continue to rinse the filter until all traces of cleaner are gone. If the filter is extremely dirty it may be necessary to repeat steps 1 and 2. If there are spots of dirt remaining on the filter, spray each spot directly with cleaner, allow a few minutes for it to soak and repeat rinsing step.
3. DRY
After rinsing, gently shake off excess water and allow filter to dry naturally. Do not proceed to the oiling step until the filter is completely dry.
CAUTION: THE USE OF ANY OTHER DRYING METHODS (I.E. COMPRESSED AIR, DRYER HEATERS, HEAT GUNS) COULD DAMAGE FILTER.
4. OILING
RECOMMENDATION: FOR BEST RESULTS USE K&N AIR FILTER OIL.
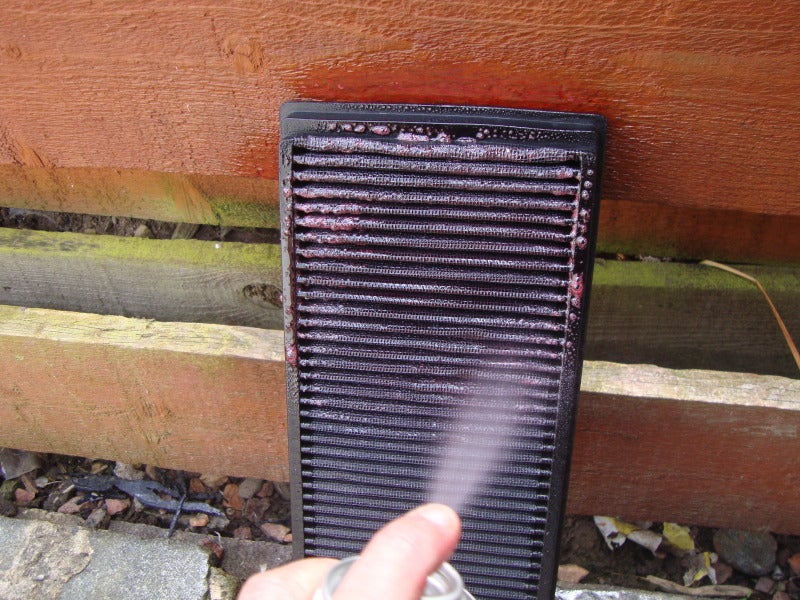
Apply K&N Air Filter Oil liberally to the dirty side of the filter only. This will allow for a visual reference of complete coverage.
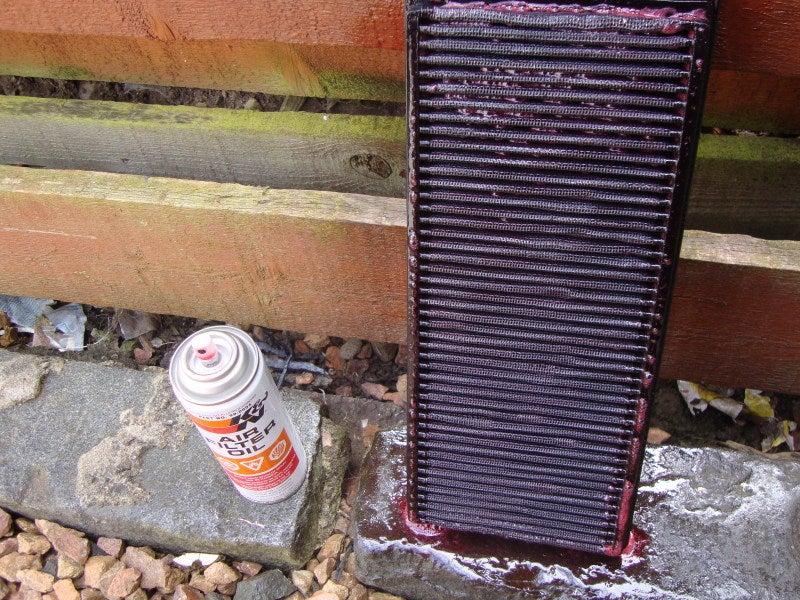
Using a K&N aerosol spray, spray an even amount of oil along the crown of each pleat.
Wait 20 minutes for the oil to be absorbed into the filter media. Inspect the clean side of the filter for any areas that are lighter in color. Touch up these areas in the media by applying oil to the dirty side of the filter. Continue oiling procedure until there is an even red color over the entire surface of the clean and dirty side of filter.
5. FILTER INSTALLATION
Before reinstalling filter back into vehicle, inspect it for damage. Follow any and all specific installation instructions that came with the K&N Air Filter.
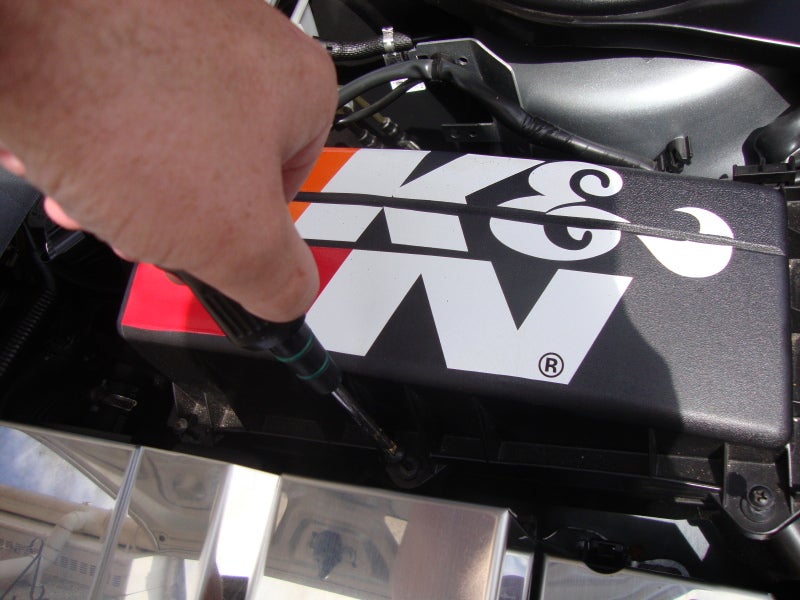
Re-install back into the car and screw tight.
Whole job take just under 1hour including drying times.



 Your Privacy Choices